Projects
In order to start adding traps and recording catches, you need to be part of a project. Projects allow people to collaborate on predator management projects in specific geographical regions. A project can range from being small (just you in your own backyard) to large (a suburb, a farm, a region etc).
You can look for an existing project in your area to join, or you can create your own.
- Joining an existing project
- Finding a project to join
- Creating a new project
- Editing project details
- Editing your project's boundaries
- Merging two projects
- Project Categories
- Adding your terms into Project categories
- Leaving a project
- Deleting your project
Joining an existing project
Hopefully, there is an existing project close to the area you are interested in trapping. In this case, we recommend that you contact the project administrator(s) to see if you can get involved.
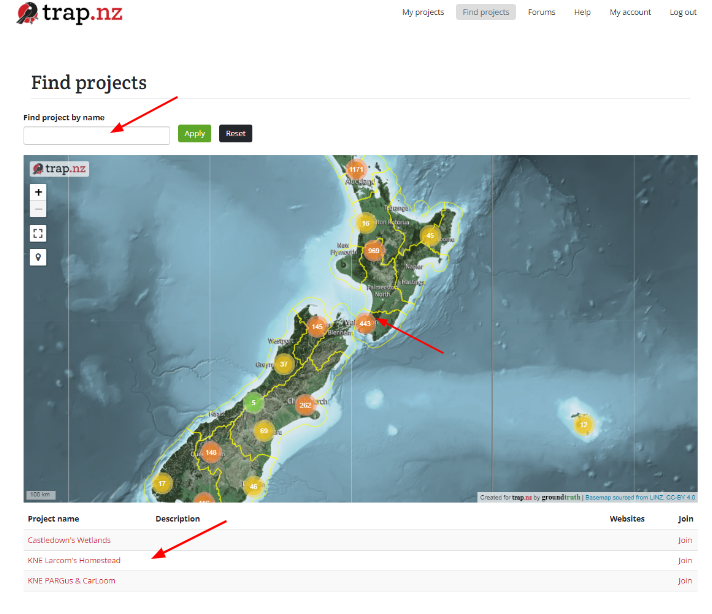
- Go to the "Find projects" page, accessible from the "Find projects" link on the menu bar along the top of the site.
- If you already know the name of the project you want to join you can use the "Find project by name" text box to search specifically for it.
- Use the map controls to zoom into your desired project area
- The +/- icons in the top left corner of the map can be used to zoom
- You can pan around the map by clicking and dragging anywhere on the map
- The <-> icon in the top right of the map can be used to make the map full screen
- You can escape fullscreen mode by pressing the X icon in the top right of the map
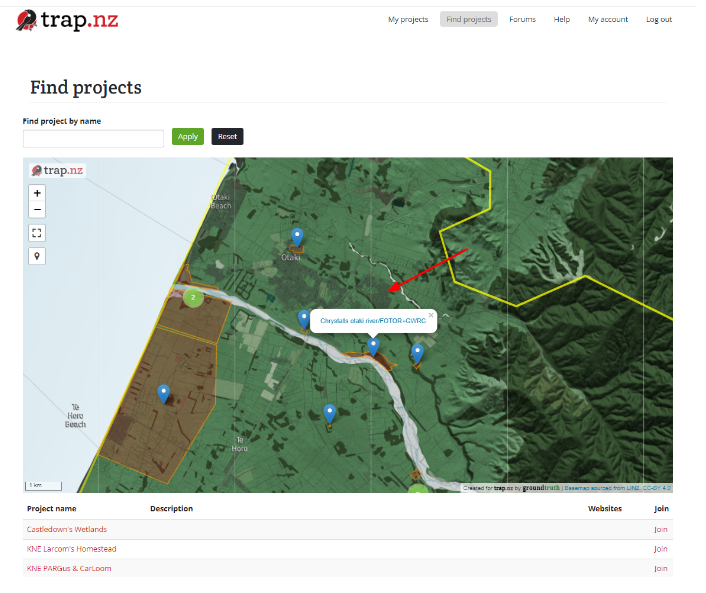
- If you find a blue marker close to your project location
- Click on the marker and a popup with the name of the project will appear
- Click on the name of the project to see details about the project
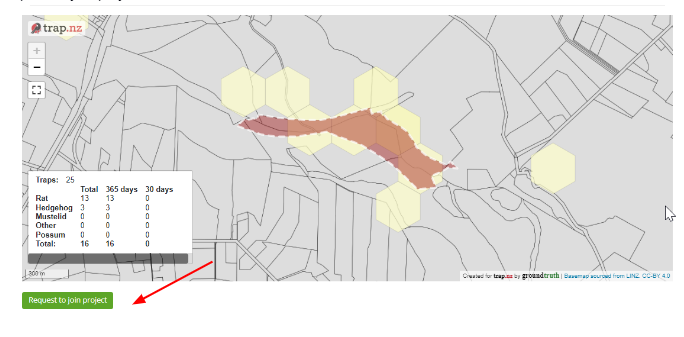
- If it looks like the project is close to the area you are interested in, you can click "Request to join the project" to contact the project administrator(s).
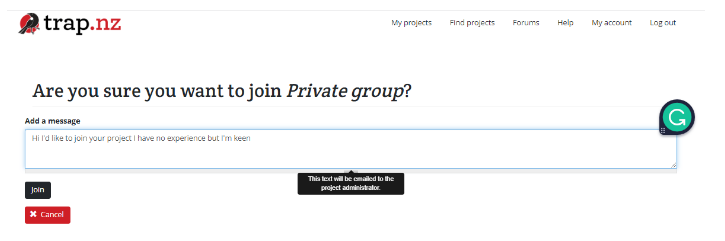
- Type a few words about your interest in the project and why you would like to join, then click the "Send Request" button.
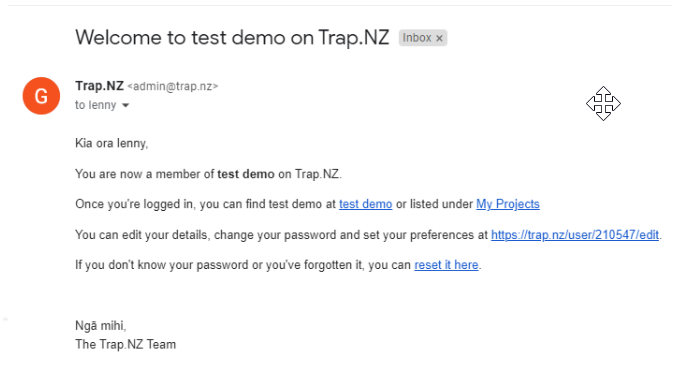
- If a project administrator approves your request, you will receive an email welcoming you to the project, and the project will appear in your "My projects" list.
For video help, click the youtube link here https://youtu.be/CxH3axNkr78
Finding a project to join
A project allows a group of people to collaborate on managing installations within a geographical area.
Hopefully, there is already an existing project close to the area you are interested in joining.
After verifying your account you can contact the organiser of the nearby project and ask for permission to join.
Or create your own by selecting an area you will be monitoring
For video help, click the youtube link here https://www.youtube.com/watch?v=CxH3axNkr78
Joining a project
1. Select the find projects tab

2. This will open a map of New Zealand, choose the area you are wanting your project to be located in, and This will open up the projects in that area selected. or search for the project by name if you know it.
3. Once you select an area the map will zoom into any discoverable projects in that area. If you click on the blue flag icon it will open to reveal the name of the project.
4. Once you have made your selection it will open a map of the project and give you the option “request to join project”
5. You can now add a personal message
6. After your request to join a project is accepted you will receive a message welcoming you and explaining how to get started.
Creating a new project
If there isn't a nearby project for you to join, or you'd like to create your one, you can create a new Trap.NZ project.
- Go to "My Projects" and click the "Create a new project" button near the bottom of the page.
- Fill out the form with the details for your project (only fields marked with an asterisk* are required):
- Listing your project publicly and providing as much information as possible will make it easier for others to find your project and request to join in.
- Sharing summary data allows information from your project (eg. trap numbers, catch counts, baits used, etc.) to be used by other websites. Making summary data available contributes to the national dataset and is invaluable for research into predator control in NZ. You can see an example of how this information is used at Predator Free Wellington. Personal details are not shared and individual trap locations are aggregated at a 200m (4 hectare) square grid level.
- Use the map controls to zoom into your desired project area
- The +/- icons in the top left corner of the map can be used to zoom
- You can pan around the map by clicking and dragging anywhere on the map
- The <-> icon in the top right of the map can be used to make the map full screen
- You can escape fullscreen mode by pressing the X icon in the top right of the map
- Draw the area of your project on the map
- Make sure that the area you want your project is completely visible within the map view before you begin
- Click the polygon tool (the pentagon icon at the bottom of the map) then draw on the map to define the area you want to manage.
- There are detailed instructions available on how to use the map drawing tool.
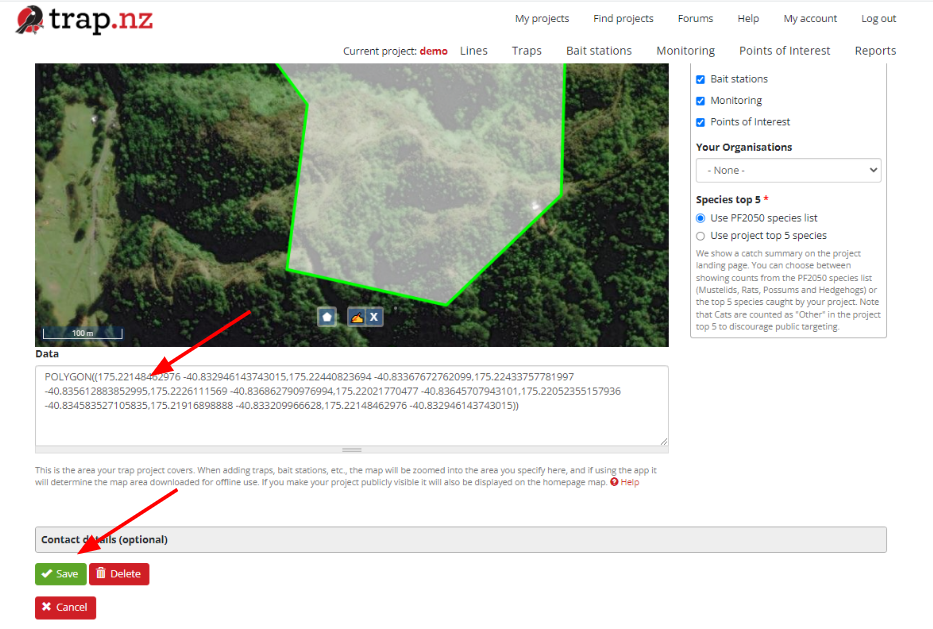
- If you have WKT format data from a GIS system (eg. ArcGIS or Quantum) you can cut and paste the WKT into the Data box beneath the map instead of manually drawing a map.
Note: the CRS is ESPG:4326
- Fill out any parts of the "Contact details" section that you wish to (you can edit this later)
- Click the "Save" button at the bottom of the page
Once you've created your project you can start adding lines, traps and bait stations, monitoring stations, and points of interest, and you can invite others to join your project.
For video help click the you tube link here https://www.youtube.com/watch?v=ozNCAAqJlfU
Editing project details
Only users with an "Administrator" role in a project can access these tools.
As an Administrator, you can edit the details for an existing project, including your project's name, boundary, description and contact details.
To edit project details:
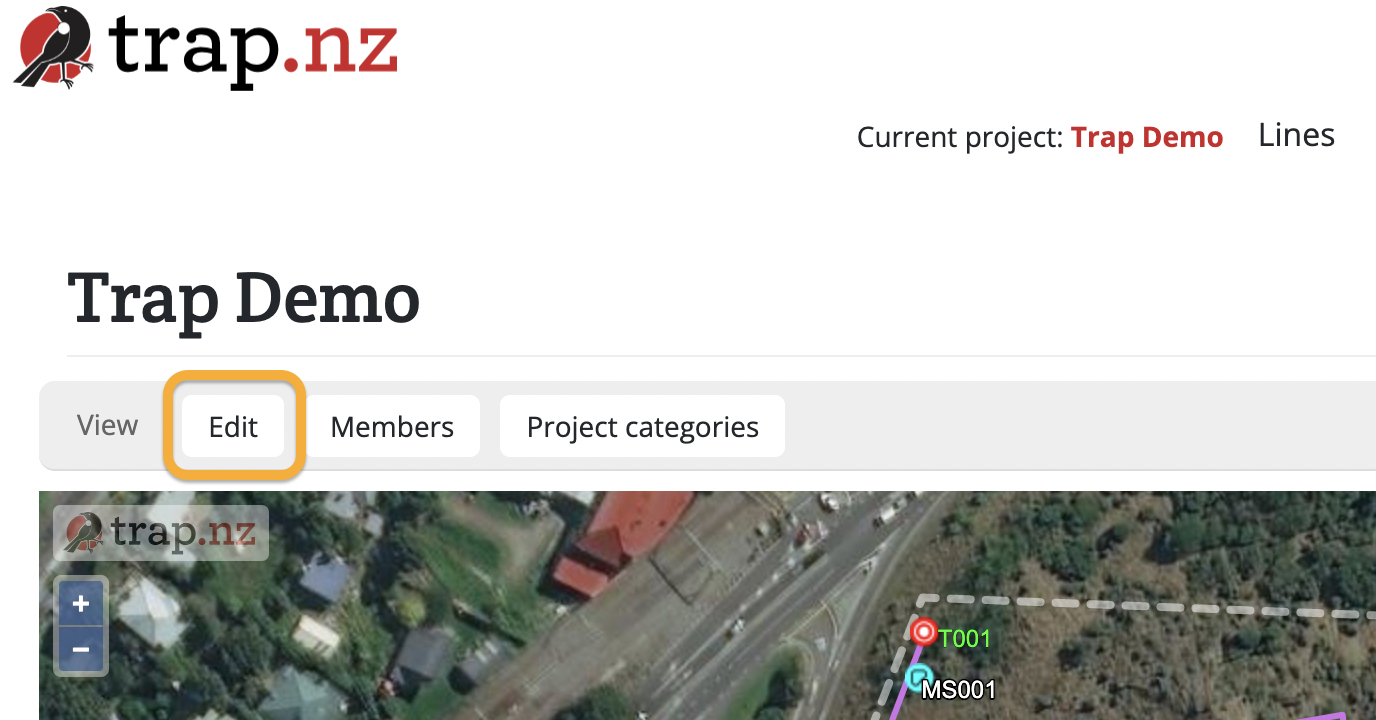
- Select the project from your My Projects list
- Click the "Edit" button

- A form will load, including a project map with your current project boundaries visible
- You can edit any of the fields, and edit the project boundary on the map
- Click the green "Save" button to save your changes
For video help, click the youtube link here https://youtu.be/HcrtWLEzMAg
Editing your project's boundaries
There are many different reasons you may need to edit your project boundaries, and if you are the administrator you have the permissions to undertake these changes
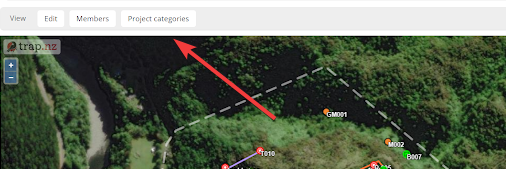
- Click the edit tab above the map window on the project’s cover page

2. This will open up the page where you can make changes to the project,
Click on the edit hand,( between the polygon and the delete options at the bottom of the map), then click inside your project boundaries
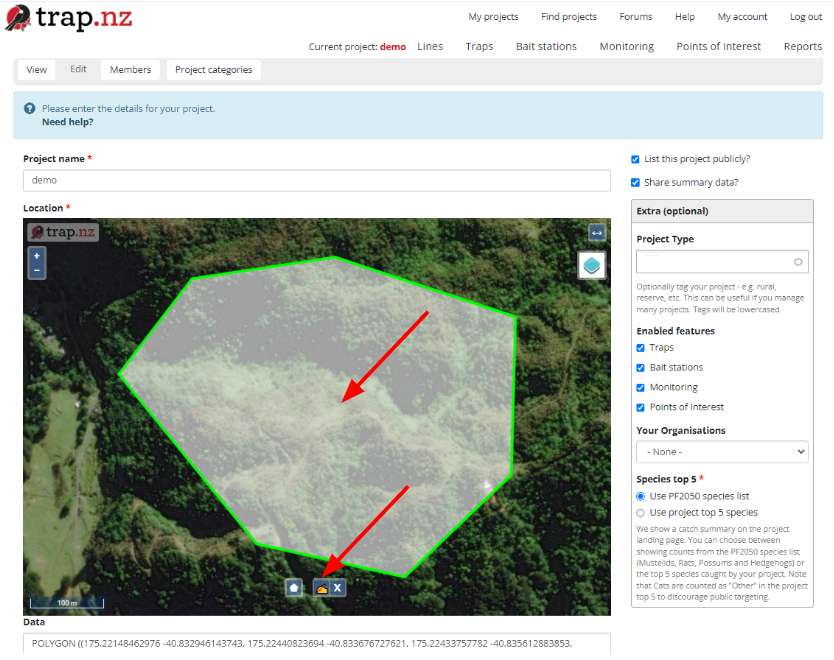
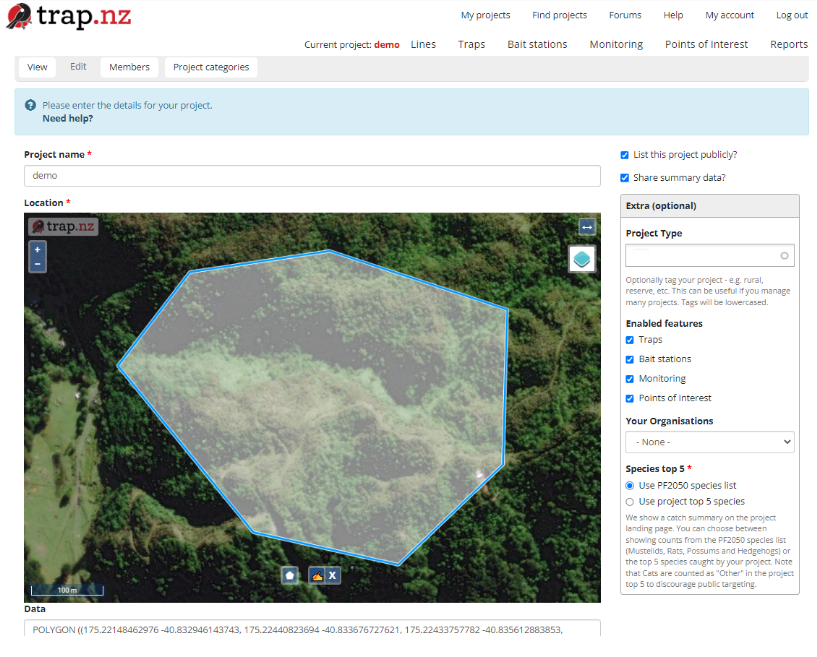
3. It will turn blue making it ready for editing
4. Shift the cursor over the edge of the polygon and a black circle will appear, Click and drag the polygon into its new dimensions
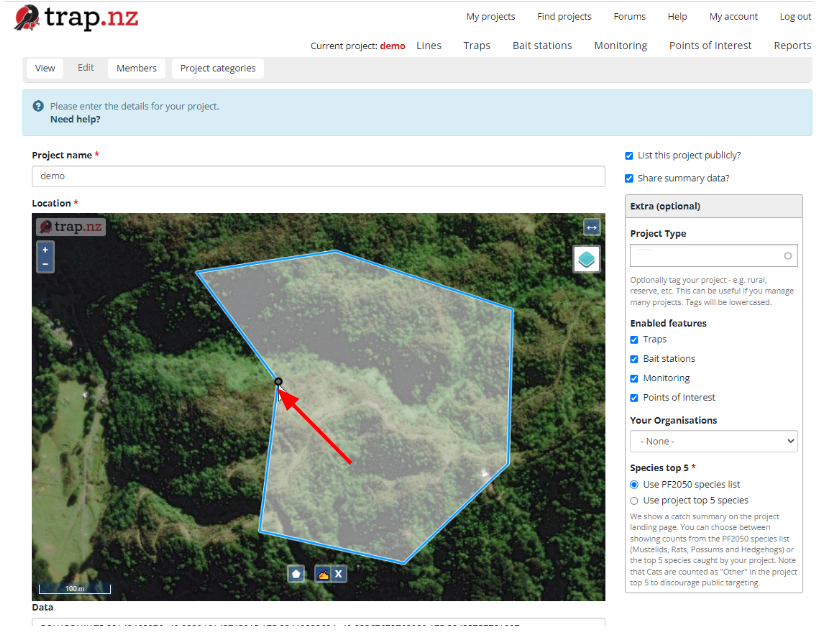
5. When you are happy with the new boundaries click the edit hand again and the map polygon will turn green
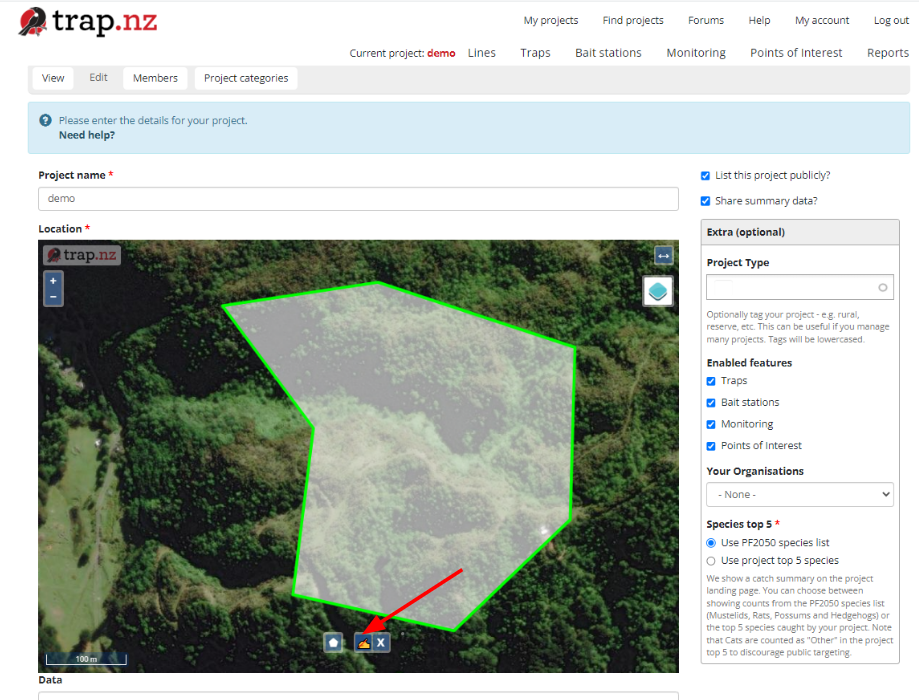
6. The coordinates of the new boundary will update and autofill and don’t forget to save the new changes
For video help click the you tube link here https://www.youtube.com/watch?v=cav-x49bzSg
Merging two projects
Administrators only
Often when you have projects side by side it makes sense for maintenance and reporting to merge them together to create one larger project.
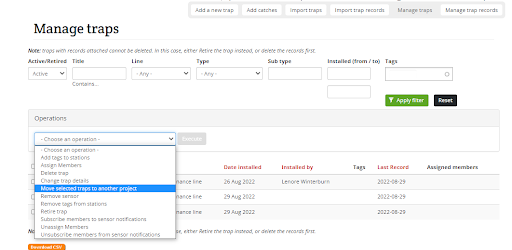
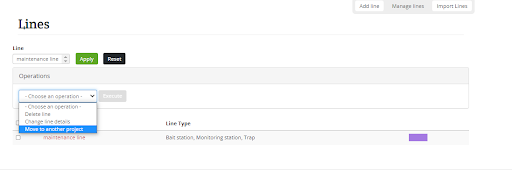
1. Open project A in a window and in Manage traps move all the traps in the project to Project B (you will need to repeat this process with all the different installation types)
2. In Project A, manage lines, move all lines to project B
3. In project B select all the traps you have moved and ensure they are still associated with the line, If not assign them to the line through manage traps
4. Edit the project B boundaries to include that of project A creating project C
To edit your project boundaries, click inside your project polygon. It will turn blue making it ready for editing. Now shift the cursor over the edge of the polygon and a black circle will appear, you can now click and drag the polygon into its new dimensions
Project Categories
You must be a project Administrator have access to the "Project categories" section.
For video help click the you tube link here https://youtu.be/Zv90Q7fPGVE
Project categories allow Administrators to customise some aspects of their project, such as:
- Bait station species detected
- Monitoring bait
- Monitoring protocol
- Monitoring species
- Monitoring survey event
- Monitoring type
- POI type
- Project record type
- Trap bait type
Accessing the Project categories section
- Select the project from your My Projects list
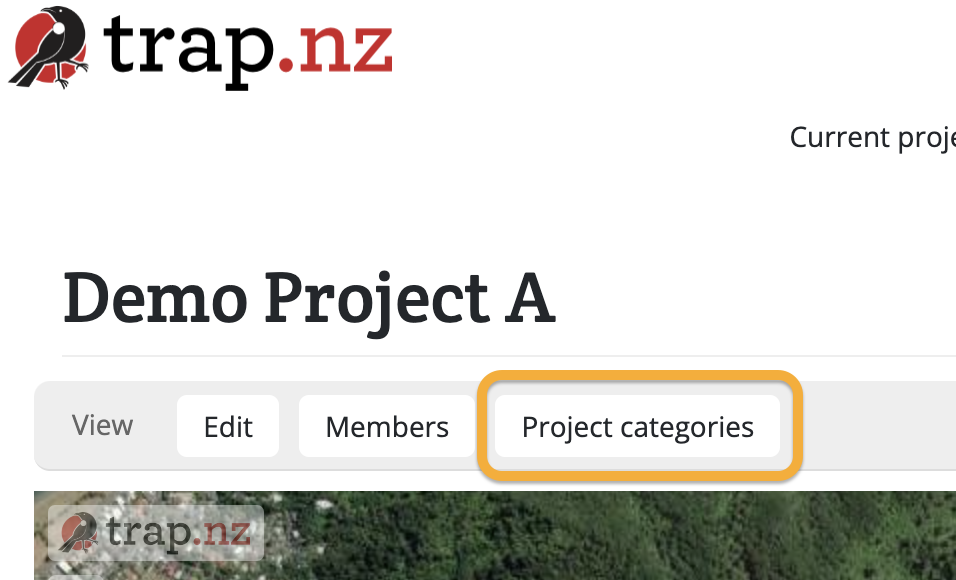
- Click the "Project categories" button

- The Project categories section will load, with a submenu showing all the categories that can be customised

- Click on the section you wish to edit

Project terms
Each Project categories section has two parts
- Default terms
- Your terms
Default terms
Default terms are terms that Trap.NZ give you "out of the box". This section allows you to select which "Default terms" to show/hide in your project. The checkboxes next to each default term indicate which terms will be visible, and which terms will be hidden, to all members of your project.
Your terms
"Your terms" are terms that have been added by a Project Administrator, and are specific for each project. They do not need to be ticked like the Default terms above them - their mere presence means they will be visible to the members of your project. The checkbox for each custom term allows you to perform actions on them - reassign or delete.
Adding your terms into Project categories
This helps with projects that need terms that are not offered under the default terms on trap.NZ
You must be an administrator to access the project categories
For video help, click the youtube link here https://youtu.be/Zv90Q7fPGVE
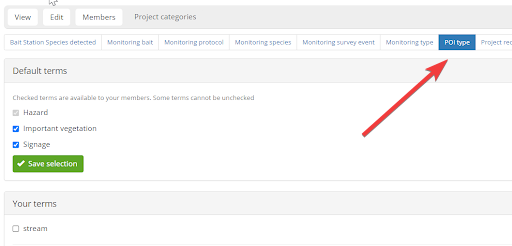
1 On your project home page on the trap.NZ website select Project categories
2 This will open up a default terms page

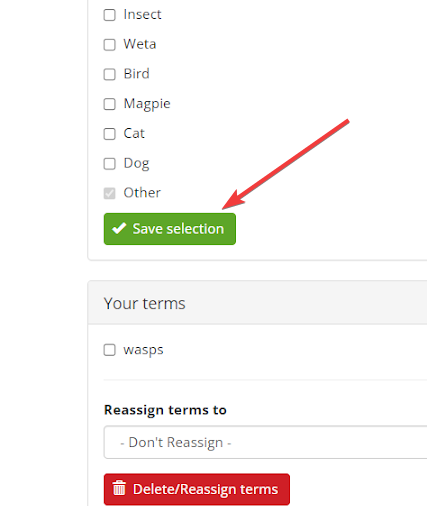
3 You can now add your term needed. Write the term you would like to be added in the Add a new term section
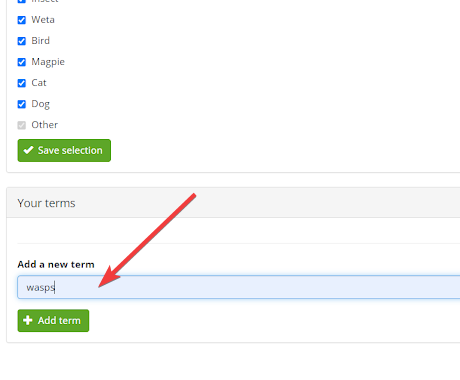
4 Save your selection
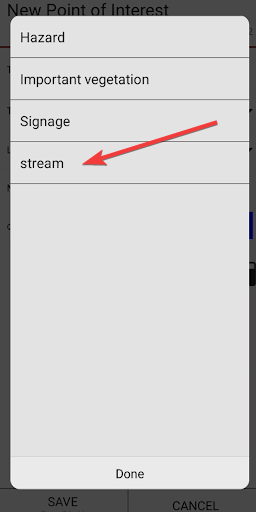
5 The term will now show on both your trap.NZ website and trap.nz App

This can also work for other categories
Leaving a project
If you no longer wish to participate in a project you have joined, you can leave at any time.
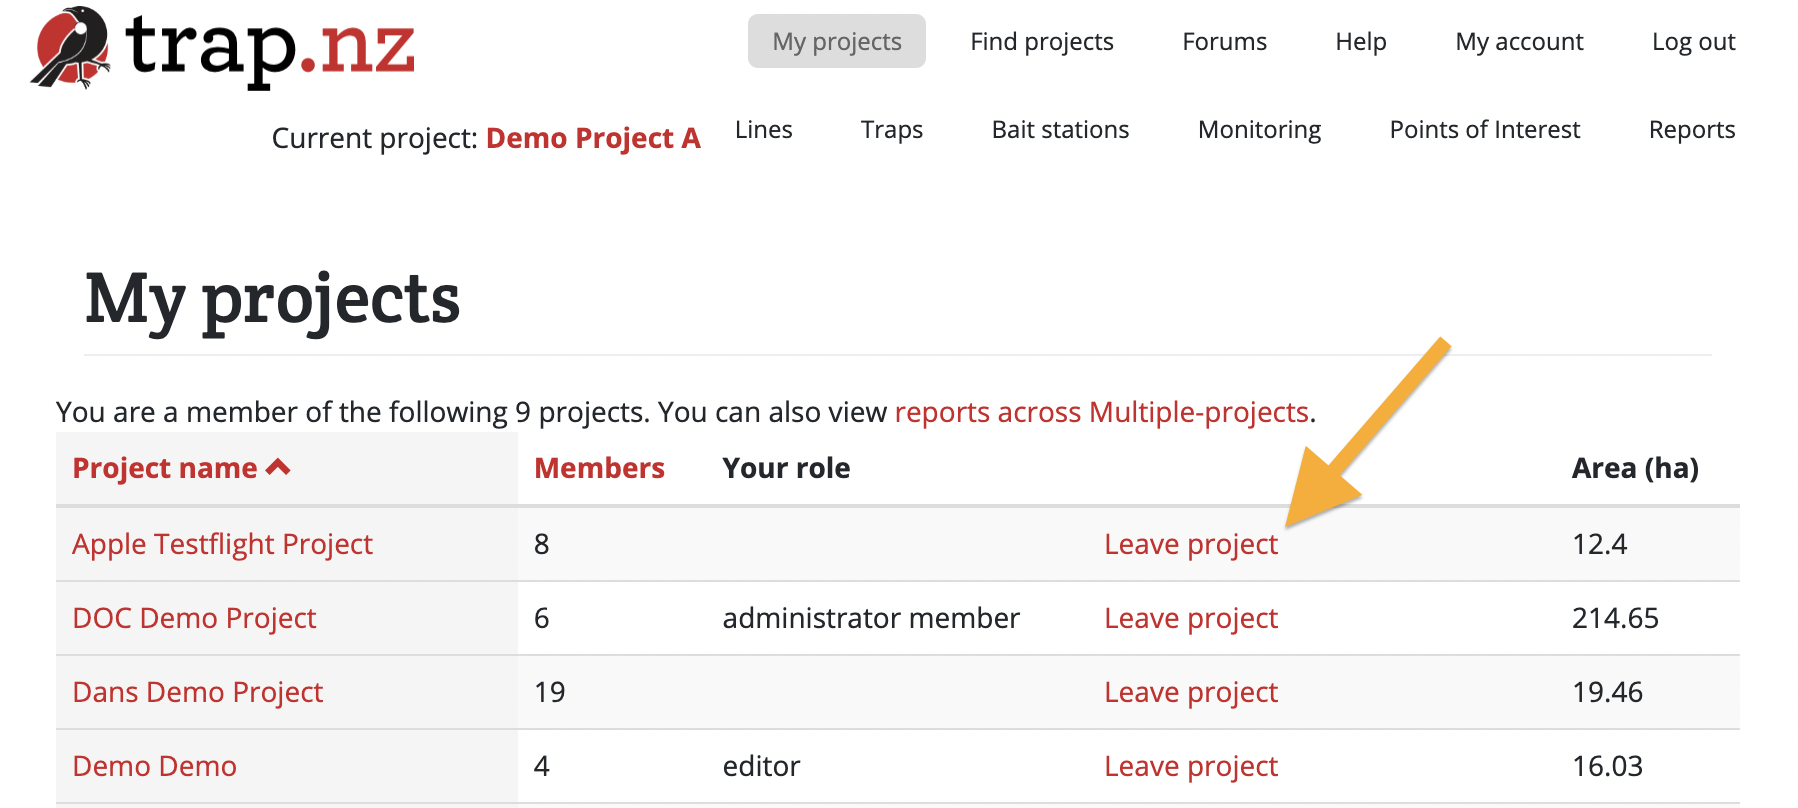
- Go to the "My Projects" page.
- Click the "Leave project" link next to the name of the project you wish you leave.
- Click "Yes, get me outa here" to confirm that you want to leave.
For video help, click the youtube link here https://youtu.be/SV3RbauacHk
Deleting your project
Only users with an "Administrator" role in a project can access these tools.
As an Administrator, you can delete an existing project. Please note, all the project information will be lost once a project has been deleted.
To delete a project:
- Select the project from your My Projects list
- Click the "Edit" button
- Scroll to the bottom of the form that loads, and click the red "Delete" button
- On the confirmation screen, click the "Delete" button
- Your project has been deleted!