
Adding installations using the design app - trap.nz - area
The design tool helps administrators plan/map, add installations, and manage their projects.
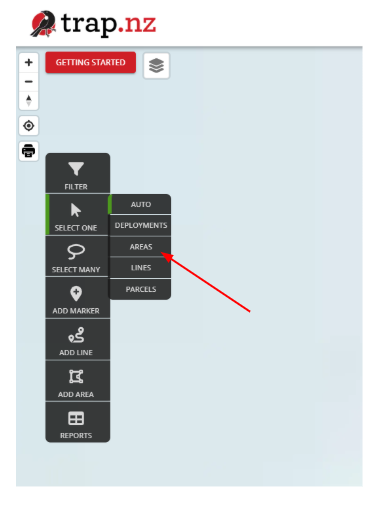
You can select to add either a line or an area
For instructions on how to add by a line, click this link
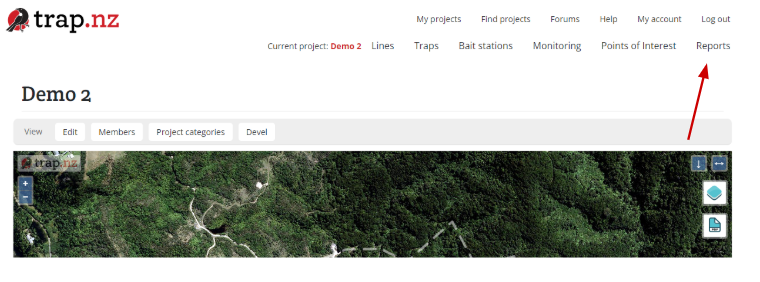
- Open the project on the website to which you want to add bulk installations, then click the “reports” tab, choose any report with “New” beside it, and open it.


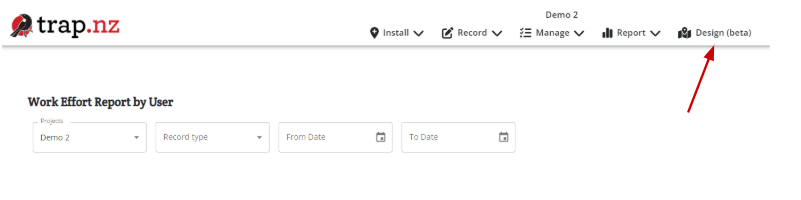
- Click on the “Design Beta” tab at the top of the page. This will open a map of your project, ready for you to add installations to.


Adding installations to an area
1. Click on the tab “Add area” and draw an area using the drawing tool. Double-click to close the tool and open the naming field
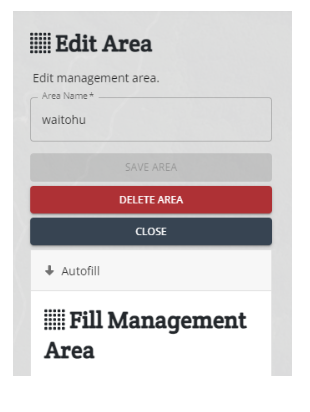
2. You can now name the area. Once you have done this, you must “Save area” to open the “Autofill” section
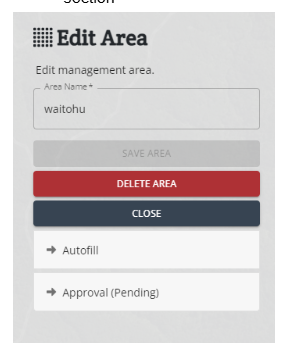
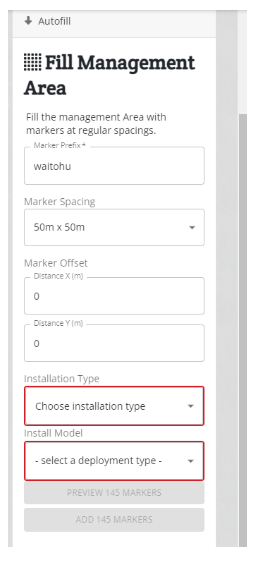
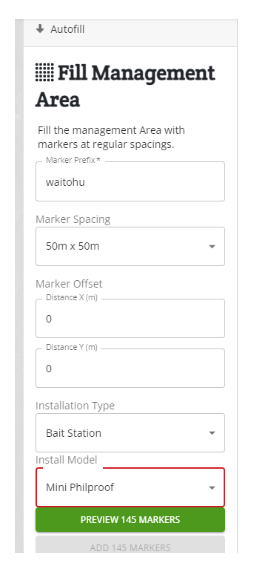
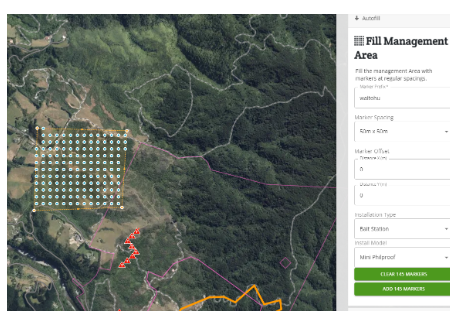
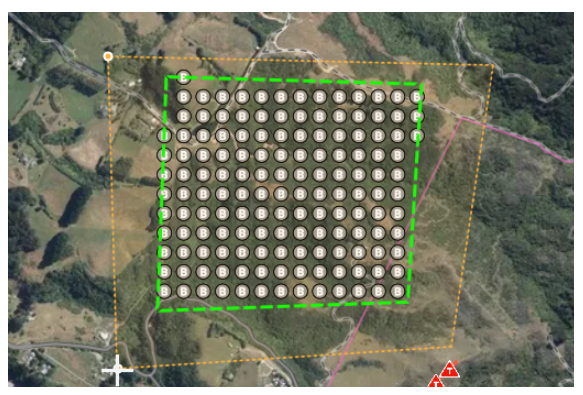
3. Once you have clicked “Autofill,” it automatically populates the marker prefixes with the name of the line. if you want a shortened version of the name, you can now edit it. The programme defaults to 50m spacing; you can keep this or edit it to suit your project. Choose a type of installation and the model you are using. Click to preview the markers and ensure you are happy with the placement. The number of markers will be displayed on the map and at the bottom of the form. If you are happy, click “Add Marker.”
 |
|
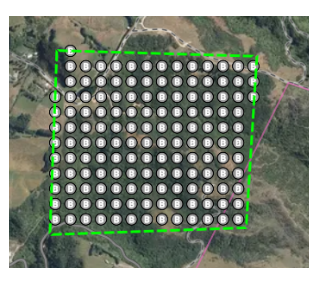
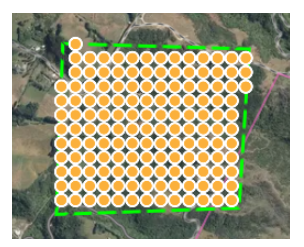
4. The map will now show the markers.
 |
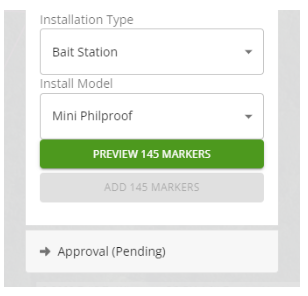 |
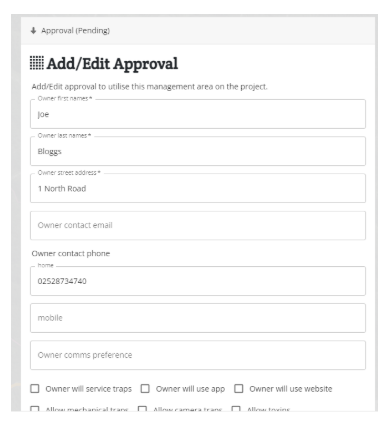
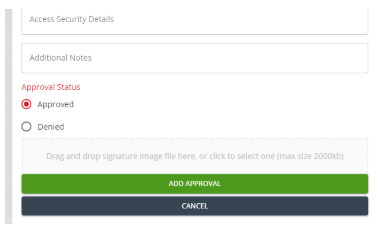
5. Scroll to the bottom of the form to add approvals
 |
 |
6. Scroll up the form and select close, the map will now show the area and the markers you have selected.
 |
 |
7.
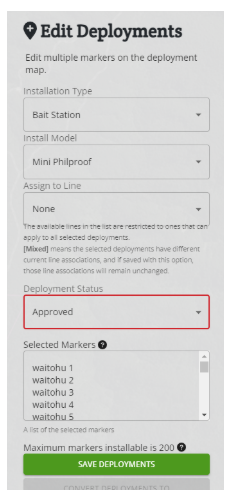
To convert the markers to installations, click on the “Select Many” tab, this will open a drawing tool. Draw around the markers you want to convert, double-click at the final point to close the drawing tool, and open the “Edit deployments” form
8. To convert all the markers to installations, change the deployment status to approved. this will open a tab allowing you to convert the chosen deployments.
In this case, there were too many installations for the conversion to take place, so I needed to change my selection to a smaller number by converting half the selection at a time.
 |
 |
 |
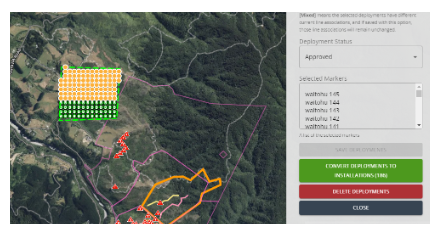 |
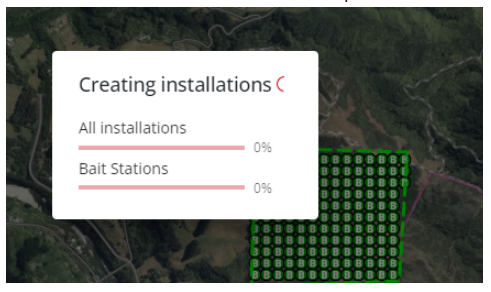
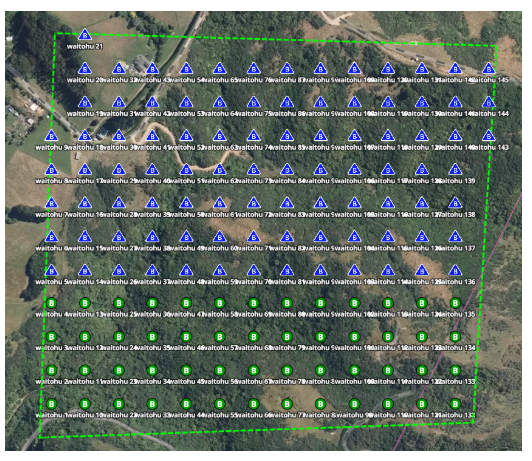
10. A status tab will open showing the conversion progress, once the installations are converted, they will show as installations with their codes on the map.
 |
 |