Adding a NFC code/chip to your installation
Enable NFC in your project.
If you'd like to use NFC features in your project, administrators will need to enable this feature.
Enabling NFC on your phone
iOS (iPhone):
NFC is automatically on for supported iPhones when needed. |
Android:
(Note: Steps may vary slightly by device.) |
If NFC options are not present, it may be that your phone doesn’t support NFC. In this case, QR is the alternative.
Adding NFC chips to your installations
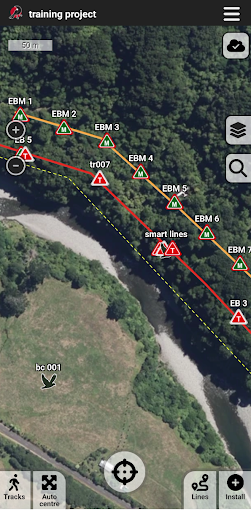
Choose the trap to which you want to add the NFC code and open up the add catches form by tapping it.
 |
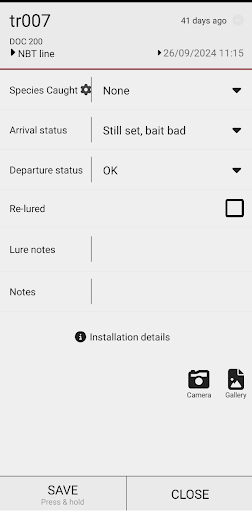 |
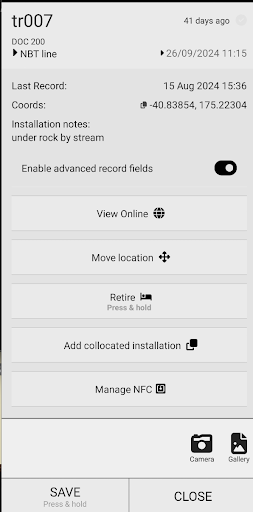
Click on the “Installation details” and scroll to the bottom of the form to the “Manage NFC,” this will open the NFC page where you can Write, Erase, or Lock a NFC code.
 |
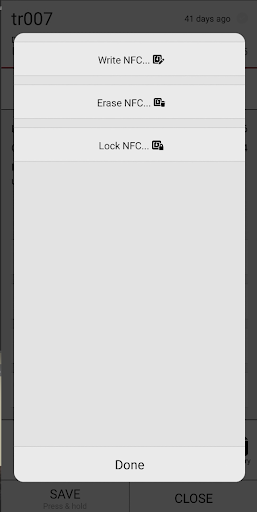 |
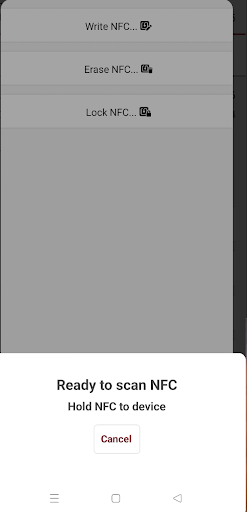
To write a code, select the tab, “write NFC,” place the disc to be written on a flat surface, and hold the phone closely over it; you may need to slowly move it around to allow the phone to read the chip. When the phone recognises the chip, it will make an electronic chime or vibrate once it has created a link to the installation.
 |
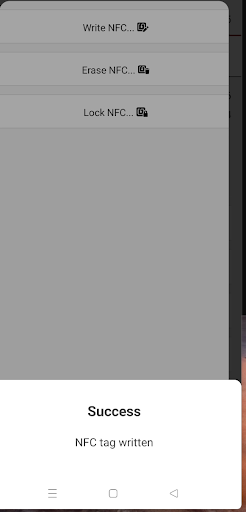 |
Click on the screen, then select “done” to return to the add catches form, where you can select close to close the screen.
Fix the chip to your installation.
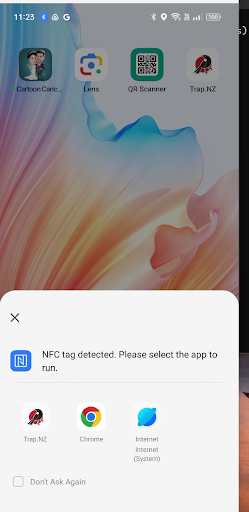
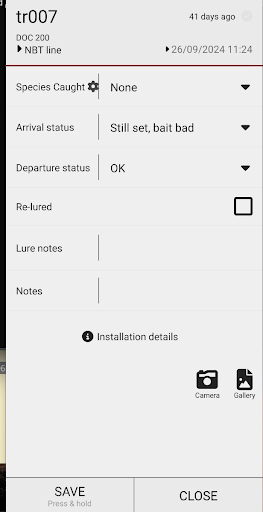
To open the catch form for the installation, simply hold your phone over the chip until it recognises it, and select trap.nz to open it, and you will be taken to the catch form if you are associated with the installation.
 |
 |
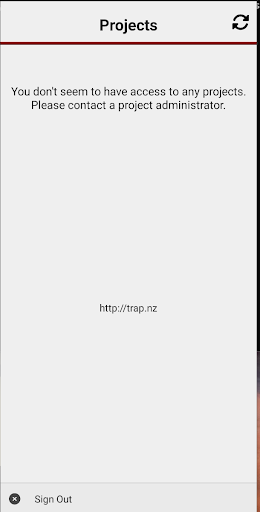
If you have not been assigned to this installation or are not a project member, You will see the following messages.
 |
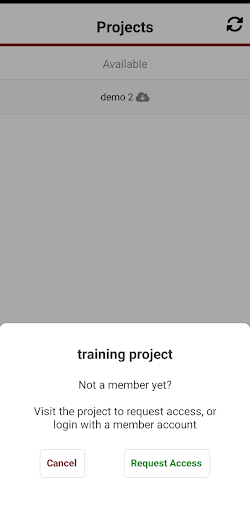 |
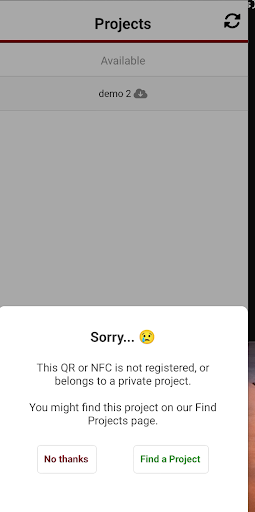
If the project is registered as a private project, you will see this message.

