Editing project details
Only users with an "Administrator" role in a project can access these tools.
As an Administrator, you can edit the details for an existing project, including your project's name, boundary, description and contact details.
For video help, click the YouTube link here https://youtu.be/HcrtWLEzMAg
To edit project details:
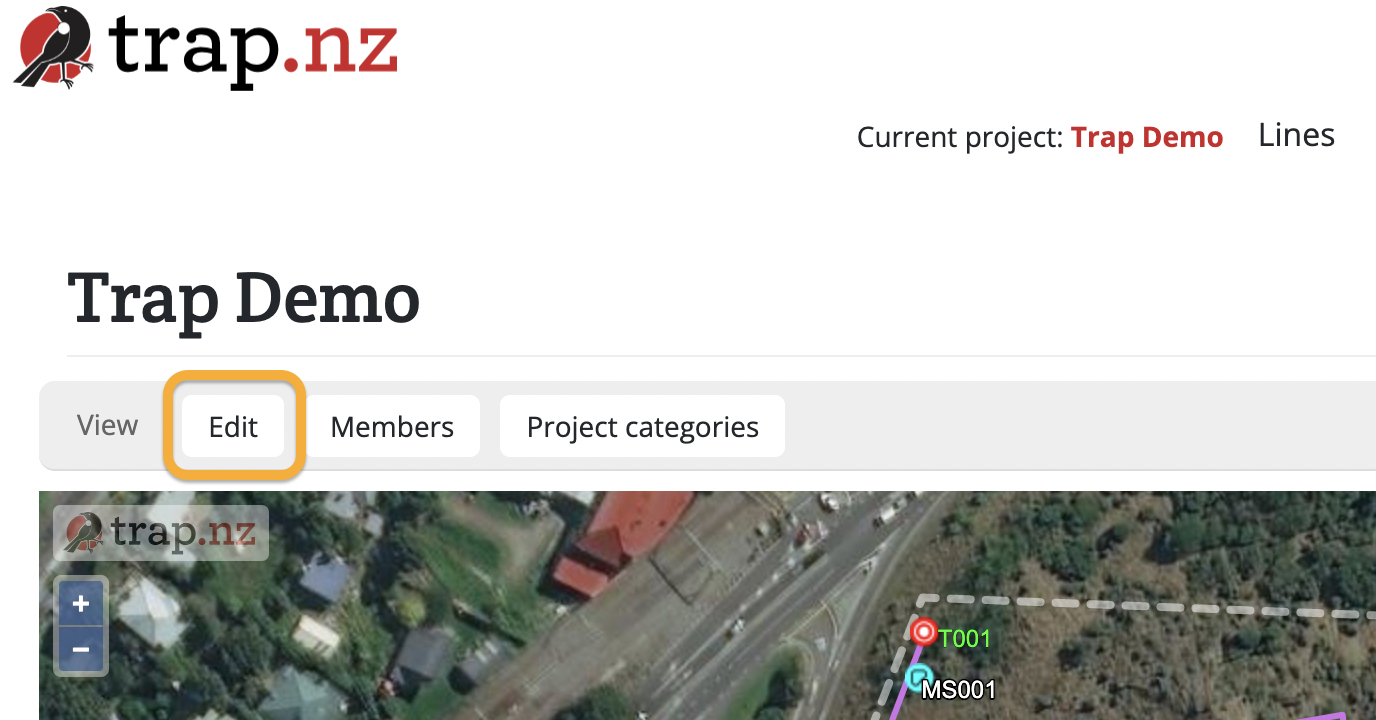
- Select the project from your My Projects list
- Click the "Edit" button

- A form will load, including a project map with your current project boundaries visible. You can edit any details here
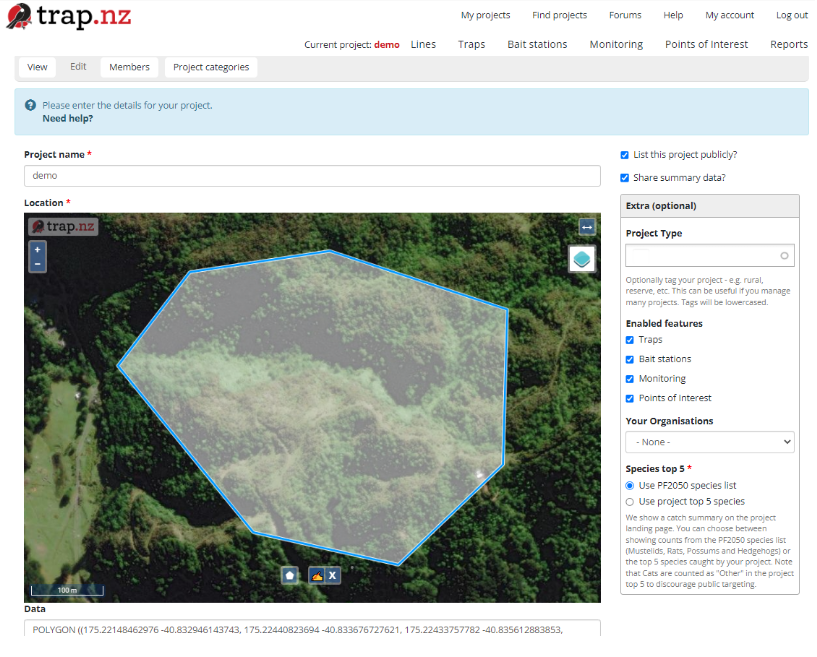
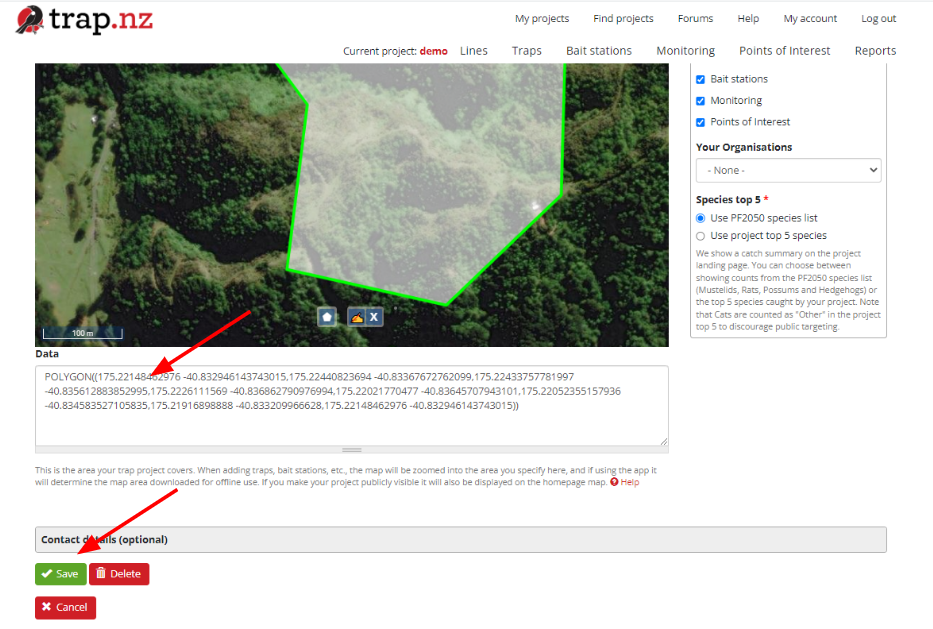
This will open upSave thepage where you can makechangesto the project. Click on the edit hand, between the polygon and the delete options at the bottom of the map, then click inside your project boundaries.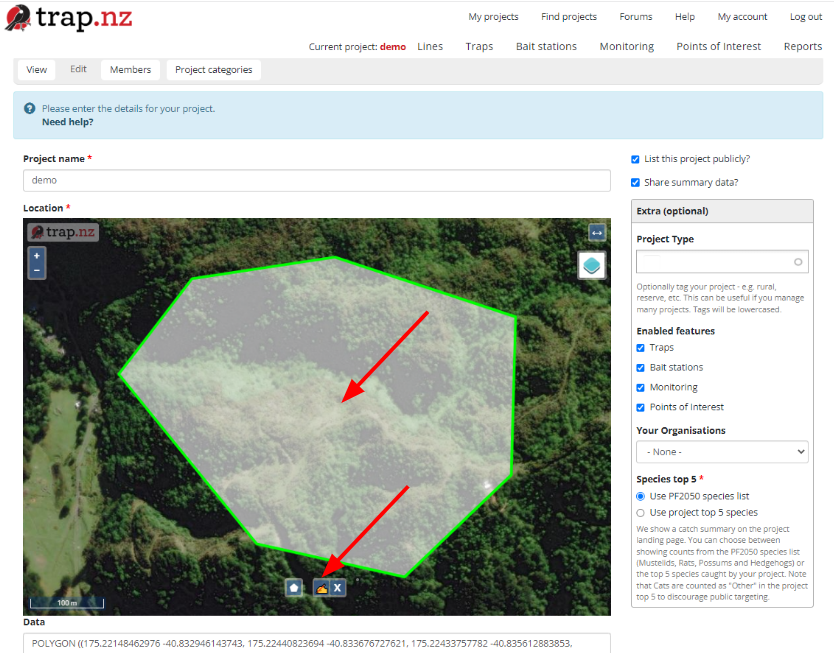
The project colour will change from green to blue when it is ready for editing
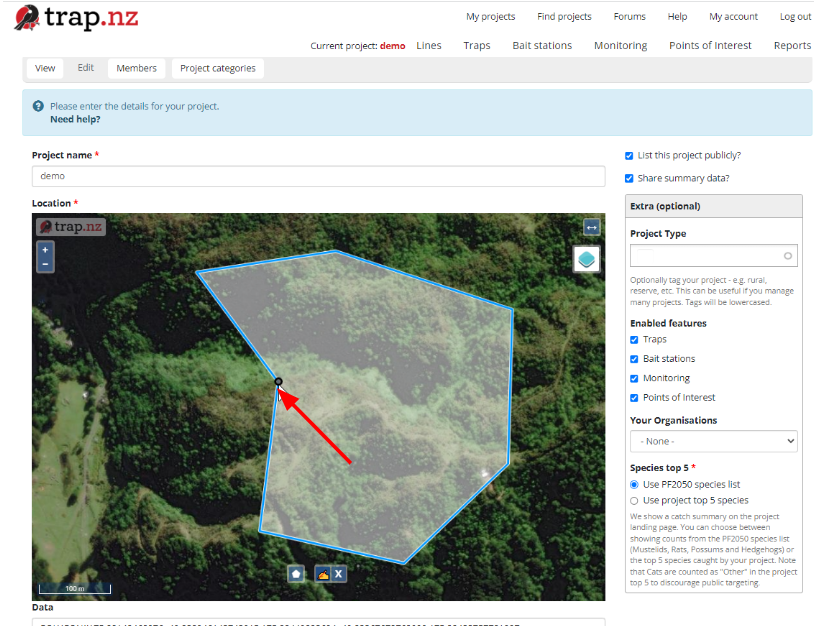
Shift the cursor over the edge of the polygon, and a black circle will appear. Click and drag the polygon into its new dimensions.
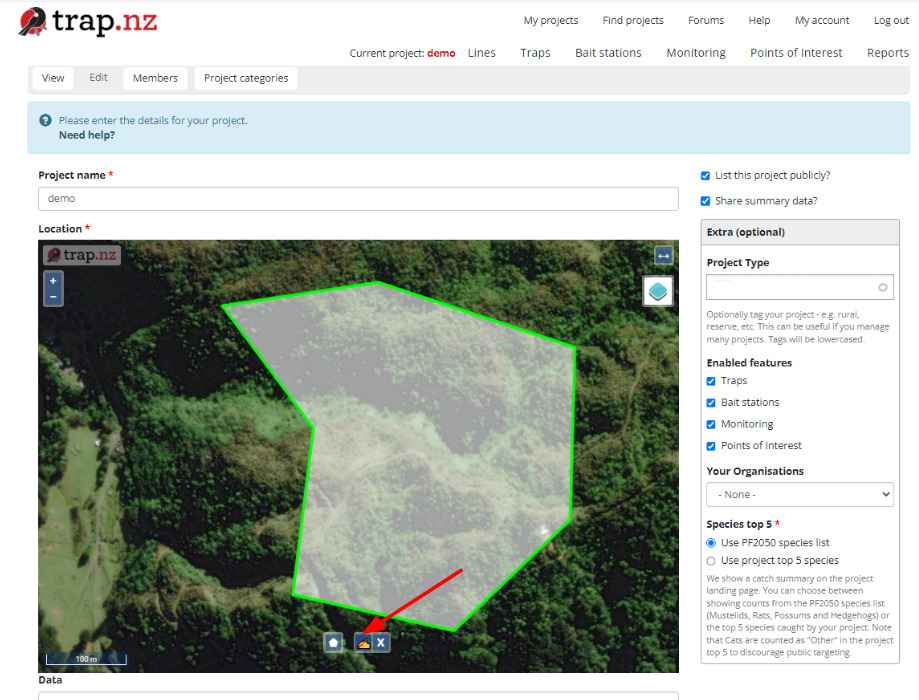
When you are happy with the new boundaries, click the edit hand again, and the map polygon will turn green
The coordinates of the new boundary will update and autofill. The last step is to save the new changes