
Managing line installations
Only users with an "Administrator" role in a project can access these tools.
Note: The line needs to exist in your project before any installation can be added to it. You can learn how to create lines here.
Managing line installations can be done at the individual level by setting the Line field while editing an installation, however in many cases it makes more sense to do this via bulk editing.
Adding a single installation to a line
To add a new installation to a line:
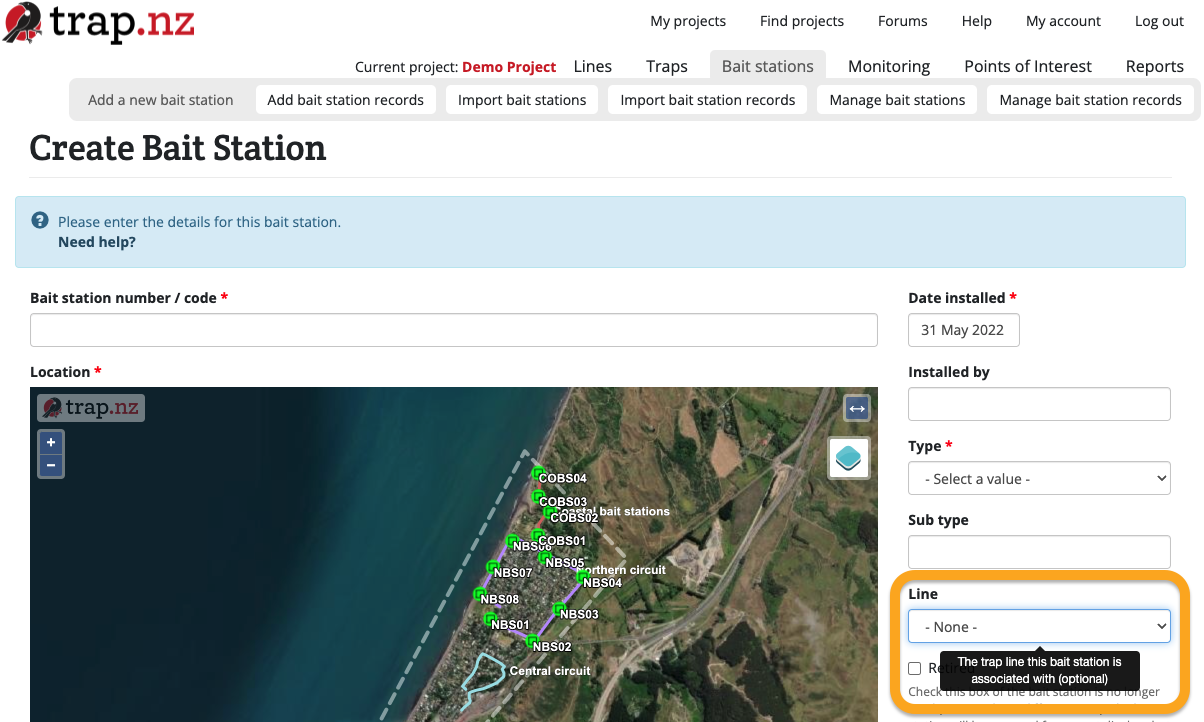
When you're adding an installation to your project, you can add them to a line at this stage by selecting the line from the dropdown menu labelled "Line" on the Create Installation form.
e.g. When creating a new Bait Station
To add an existing installation to a line:
If you want to add an existing installation to a line, you can do this by editing the installation, and selecting the line from the "Line" dropdown menu.
Adding multiple installations to a line
You can add multiple installations to a line from the "Manage Traps / Manage Bait Stations / Manage Monitoring Stations" menu.
While multiple installation types (e.g. Traps and Bait Stations) can be part of the same line, each installation type needs to be added one-by-one (e.g. you can add multiple traps to a line using the instructions below, then to add multiple bait stations, repeat the same steps in the Bait Stations section of the website).
To add multiple installations to a line:
- Select the project from your My Projects list.
- Go to the Manage Traps / Manage Bait Stations / Manage Monitoring Stations section of your project.
- (Optional) If you have a lot of installations, you can search for the particular installations that you want to edit using the filter bar. Click the green "Apply filter" button to show the filtered traps.
- Select the checkboxes of the installations you want to edit.
- From the Operations dropdown menu, select Change trap details / Change bait station details / Change station details.
- Click the "Execute" button.
- Select the "Line" checkbox, and select the line that you want to add the installations to.
- Click the "Next" button.
- Check your changes and click the green "Confirm" button to save your changes.
For video instructions click this link https://www.youtube.com/watch?v=g4bkmiPNlqs
Removing installations from a line
To remove installations from a line, follow the instructions above, but instead of selecting a line, select "None".