
Editing your project's boundaries
There are many different reasons you may need to edit your project boundaries, and if you are the administrator you have the permissions to undertake these changes
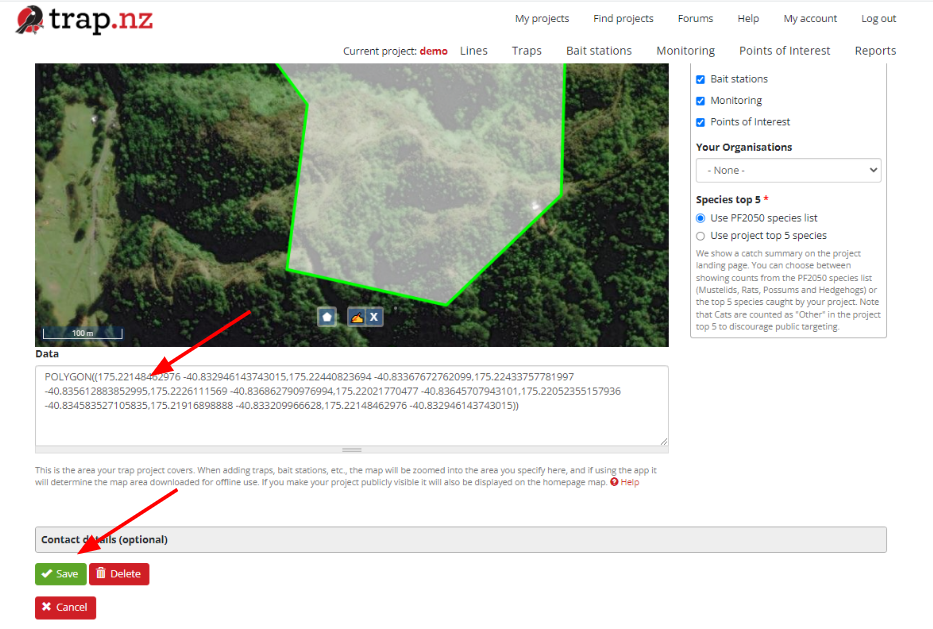
- Click the edit tab above the map window on the project’s cover page

2. This will open up the page where you can make changes to the project,
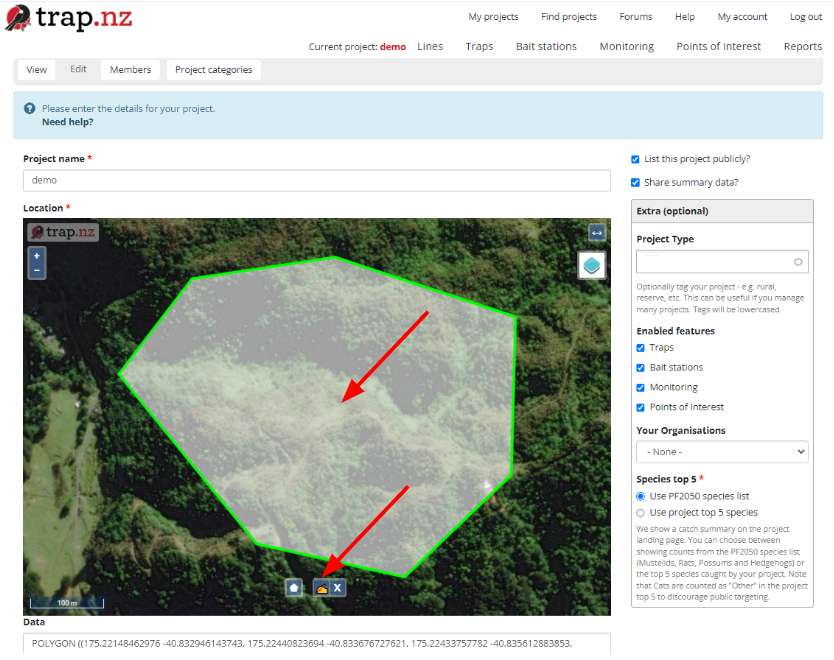
Click on the edit hand,( between the polygon and the delete options at the bottom of the map), then click inside your project boundaries
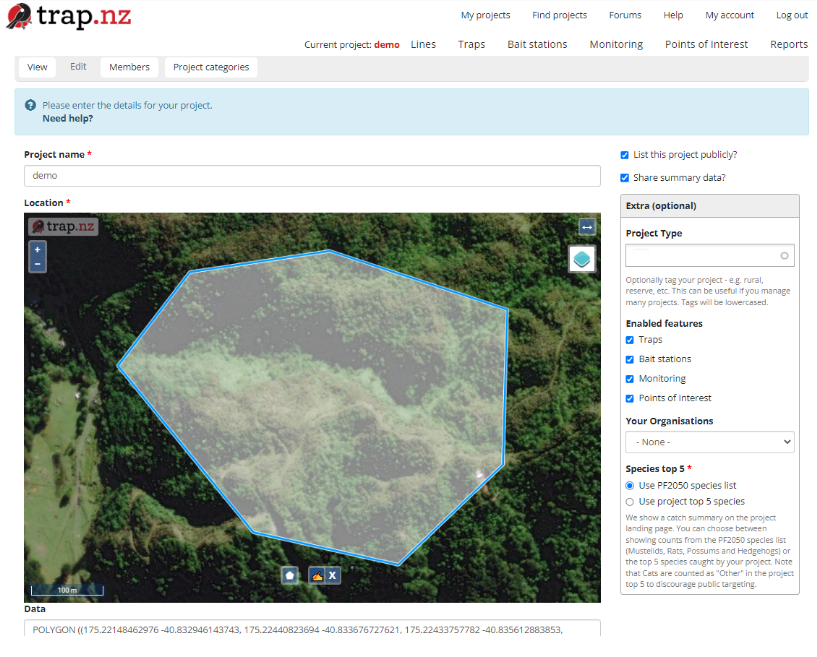
3. It will turn blue making it ready for editing
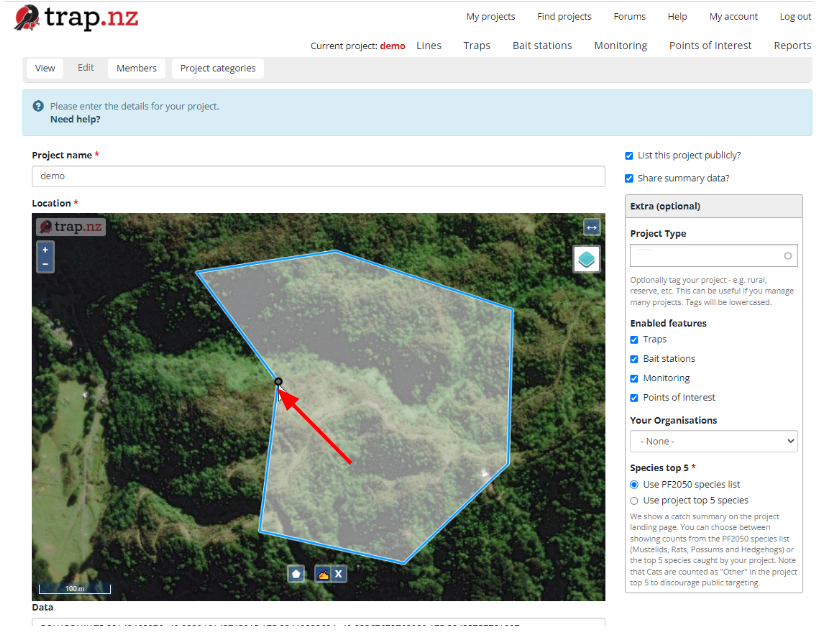
4. Shift the cursor over the edge of the polygon and a black circle will appear, Click and drag the polygon into its new dimensions
5. When you are happy with the new boundaries click the edit hand again and the map polygon will turn green
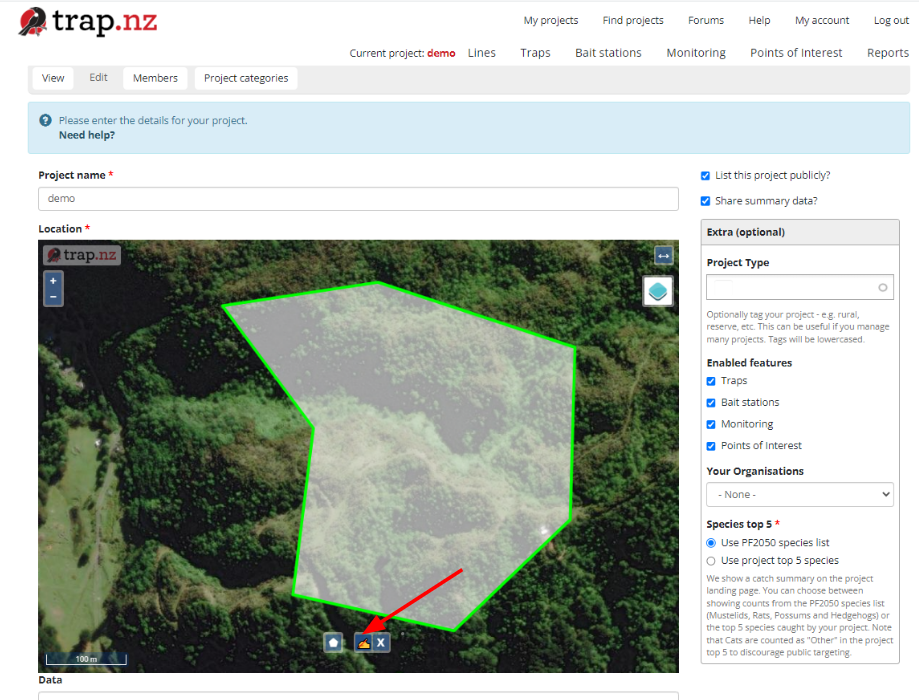
6. The coordinates of the new boundary will update and autofill and don’t forget to save the new changes
For video help click the you tube link here https://www.youtube.com/watch?v=cav-x49bzSg