
Setting defaults using Manual complete
Adding default settings
- Setting default settings in your trap.NZ App is an easy process that can save you time out in the field.
- This is helpful when you have a lot of installations to check and update.
- There are two ways in which you can set defaults on the trap.NZ App, either “manual complete or “walk line”
Manual complete
How to add defaults settings using manual complete
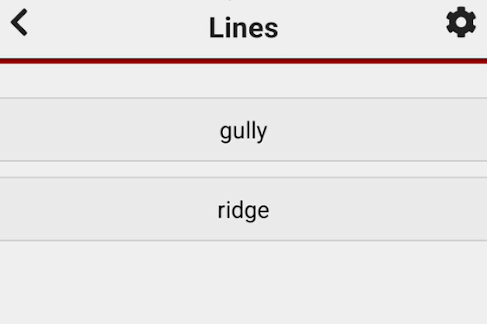
Select a line from your trap.NZ App, in this case, I have two lines I will select ridge

This will open all the installations on this line
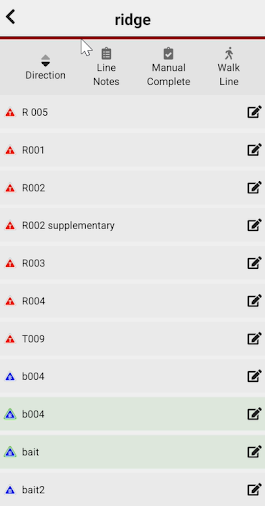
By selecting manual complete you can now choose to select the default settings before heading out to check your installations
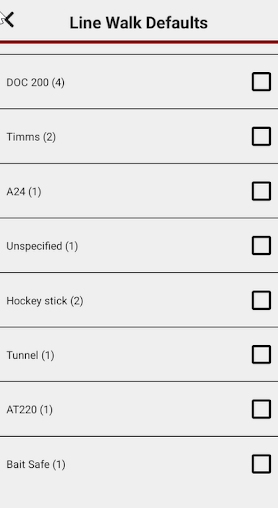
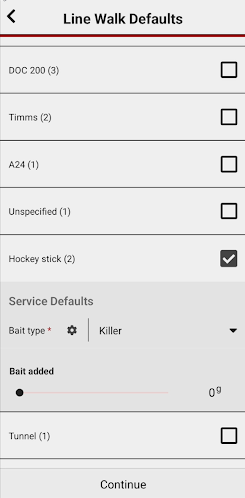
When selecting the installations you want to service it will open up your options
Traps
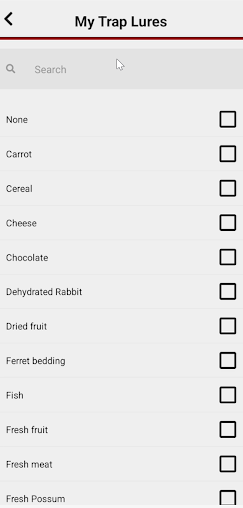
You can select the lure options by using the settings cog

Bait Stations
When you select a bait station you will be asked to include the bait type, you can either choose from one of your “favourite” options,
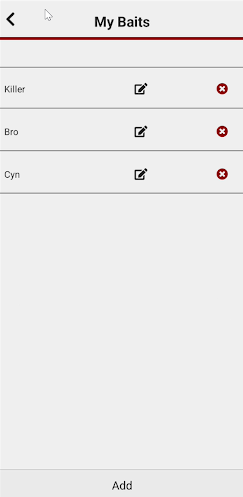
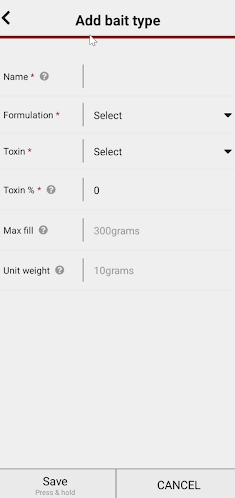
Or you can select add and select a new one

After selecting all your preferred options, the screen will display all the selected installations shaded in green completed with the defaults you have chosen.
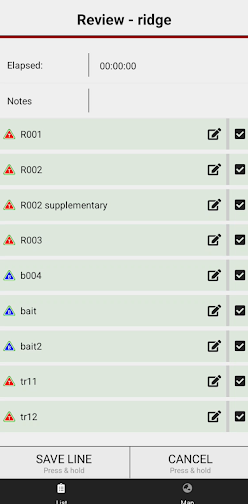
As you work your way through the installations on your project the trap.NZ App will automatically move to the next installation on your line. This will display by both the trap number and An indicator bar at the top of the screen that shows your progress through the line (green checked, black un-checked, red never-checked / new trap).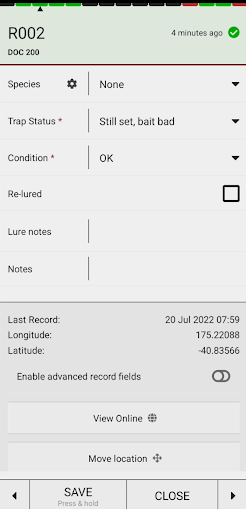
When you have finished Checking your installations select close to finish your manual complete.