App: Line servicing with "Walk the Line" proximity function
Using the Trap.NZ app, you can automatically record trap checks along a line using your phone’s GPS. When using this function to walk a line, the app will record a default trap check when you are near a trap.
See also:
Note: The phone needs to have location services set to Always On (Android, iOS) AND have battery optimisation turned off for the Trap.nz app (Android.) Failing to do so will mean no tracks are recorded when the app is in the background (i.e. in your pocket.)
How to use the app proximity function
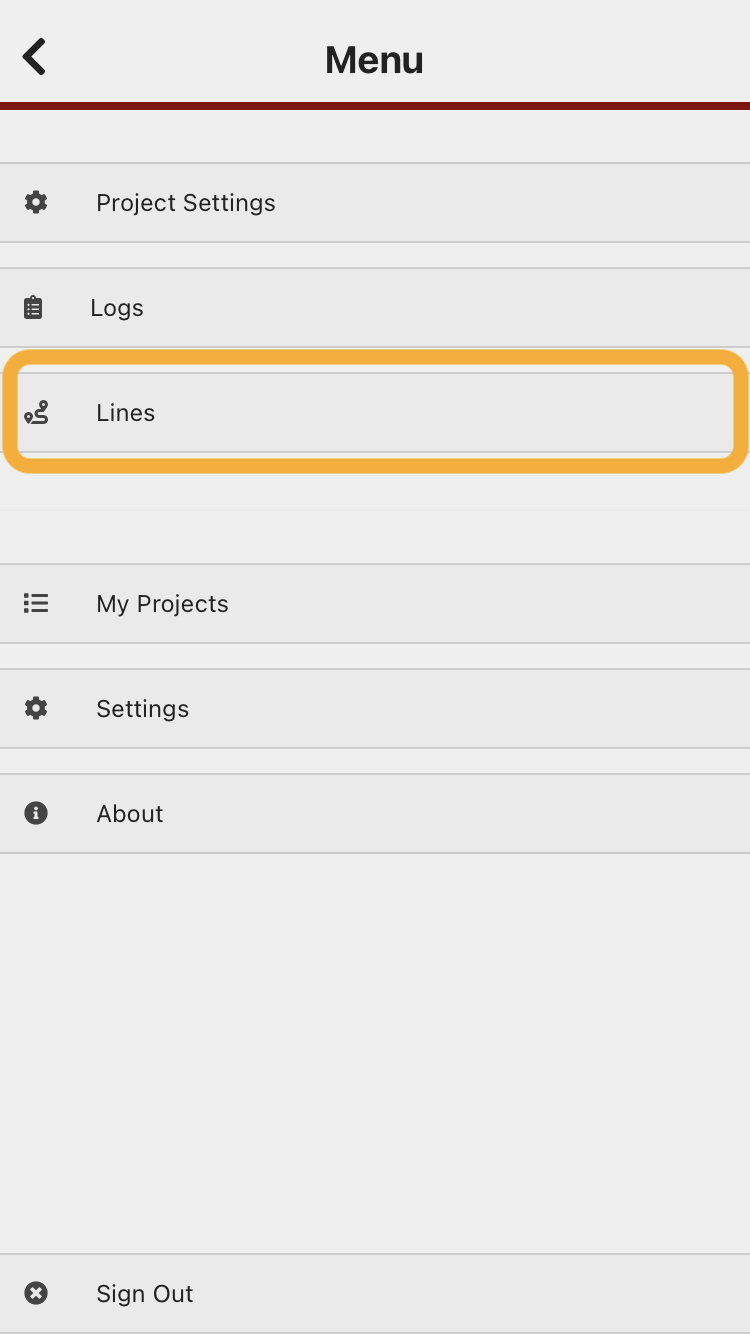
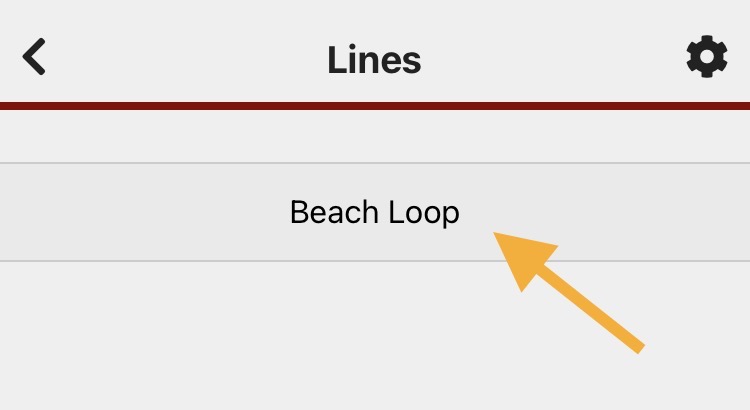
1. Select "Lines" from the app menu.
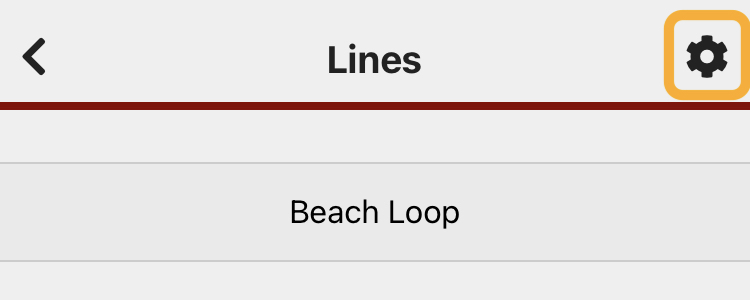
Before walking your first line - check your line settings. Select the cog symbol at the top right.
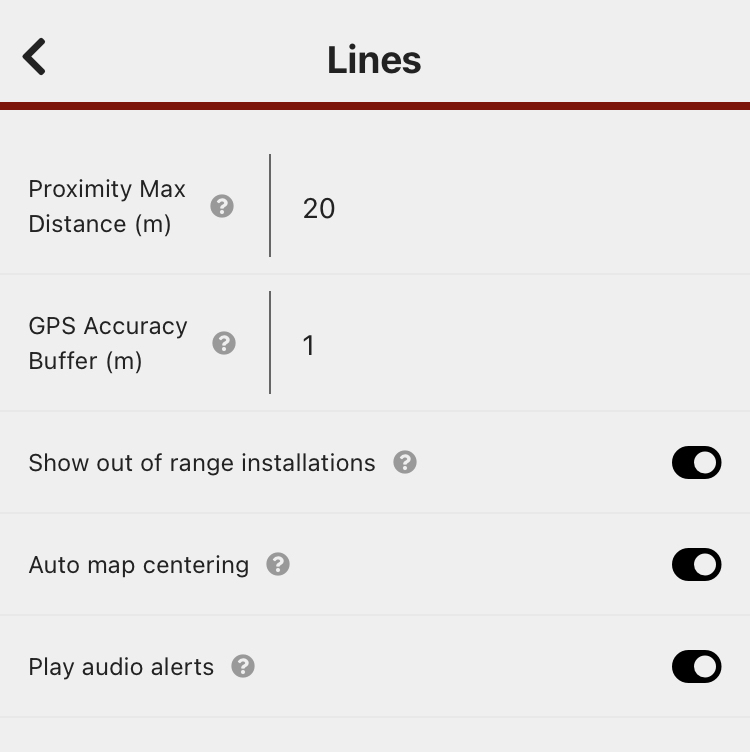
Set your preferences (tap on the ? symbol to see more detail about the preference setting). The preferences will remain set for subsequent line checks.
-
-
- Proximity Max Distance: the distance you are from the trap before it records a trap check. Because a phone's GPS can take a while to catch up to your location, we recommend setting this to at least 20m.
- GPS Accuracy Buffer: can generally be left as is.
- Show out of range installations: You will probably want to show out of range installations to begin with - this will show all the traps in the line with an indicator showing which traps have records added to them.
-
Hit the back arrow in the top left corner when you're done updating your Line Settings, to return to the Lines menu
Select the line you are servicing.
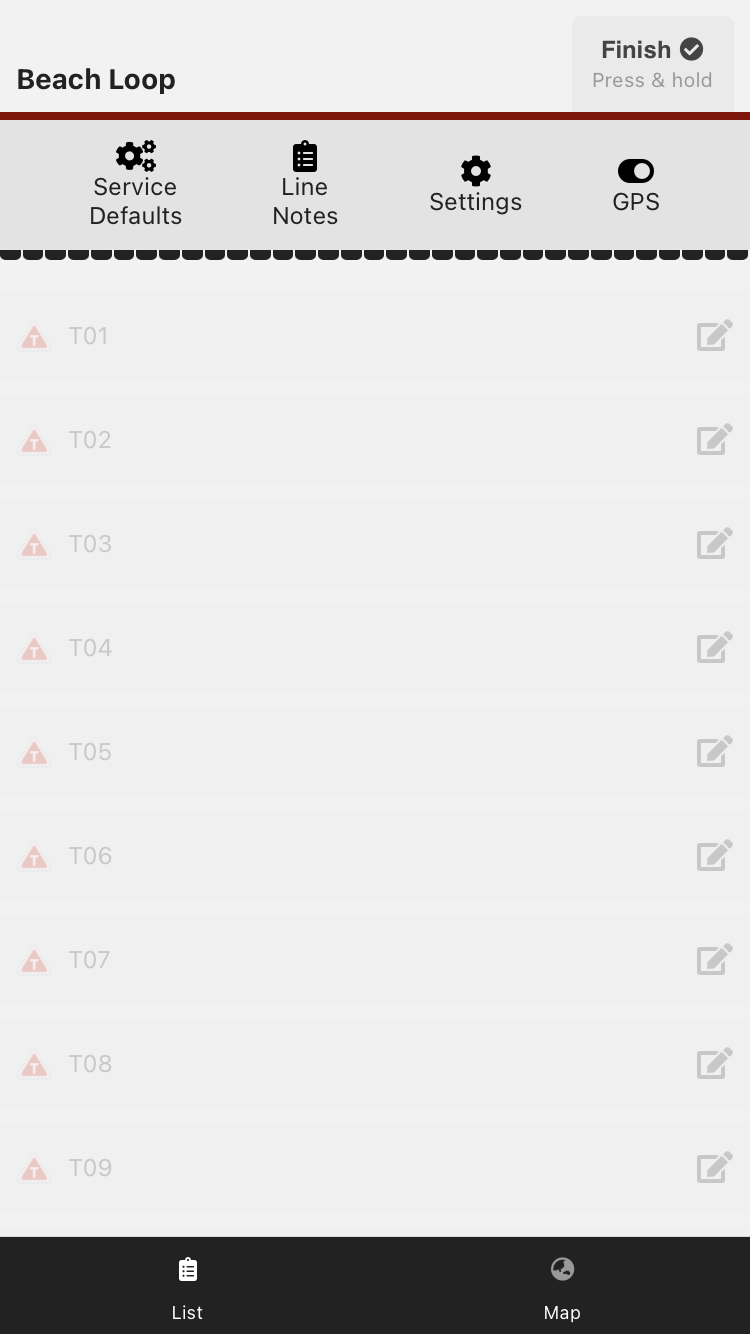
The traps on the line you selected will be listed (at the bottom of the screen, you can toggle between a list view and a map view of the line).
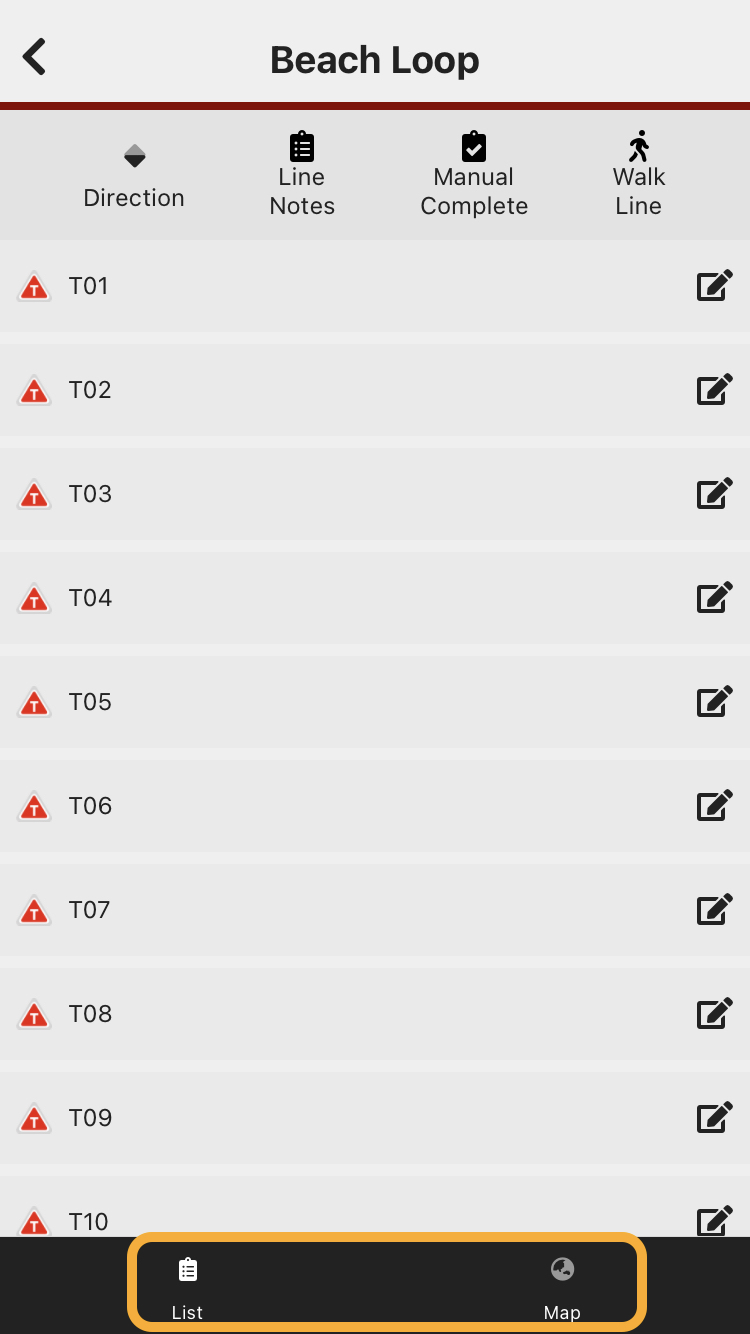
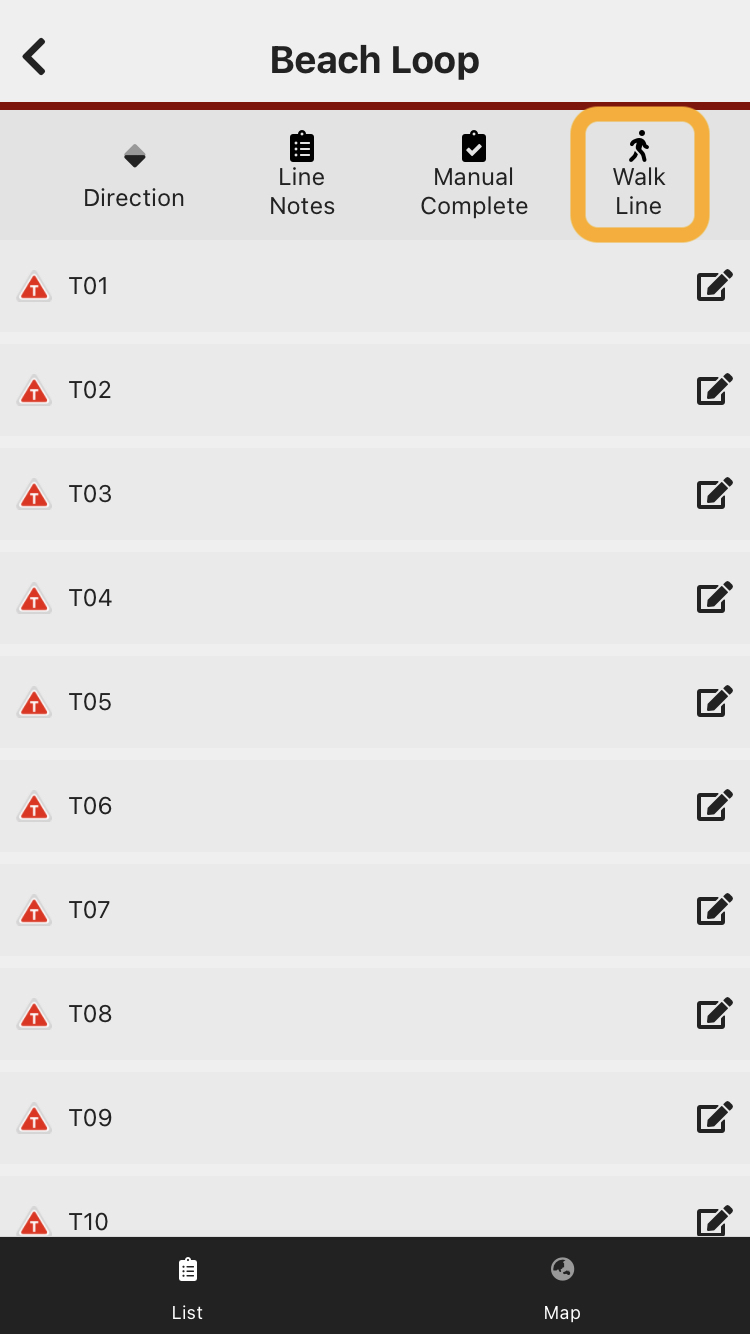
From the list view, click the "Walk Line" button (top right) to begin.
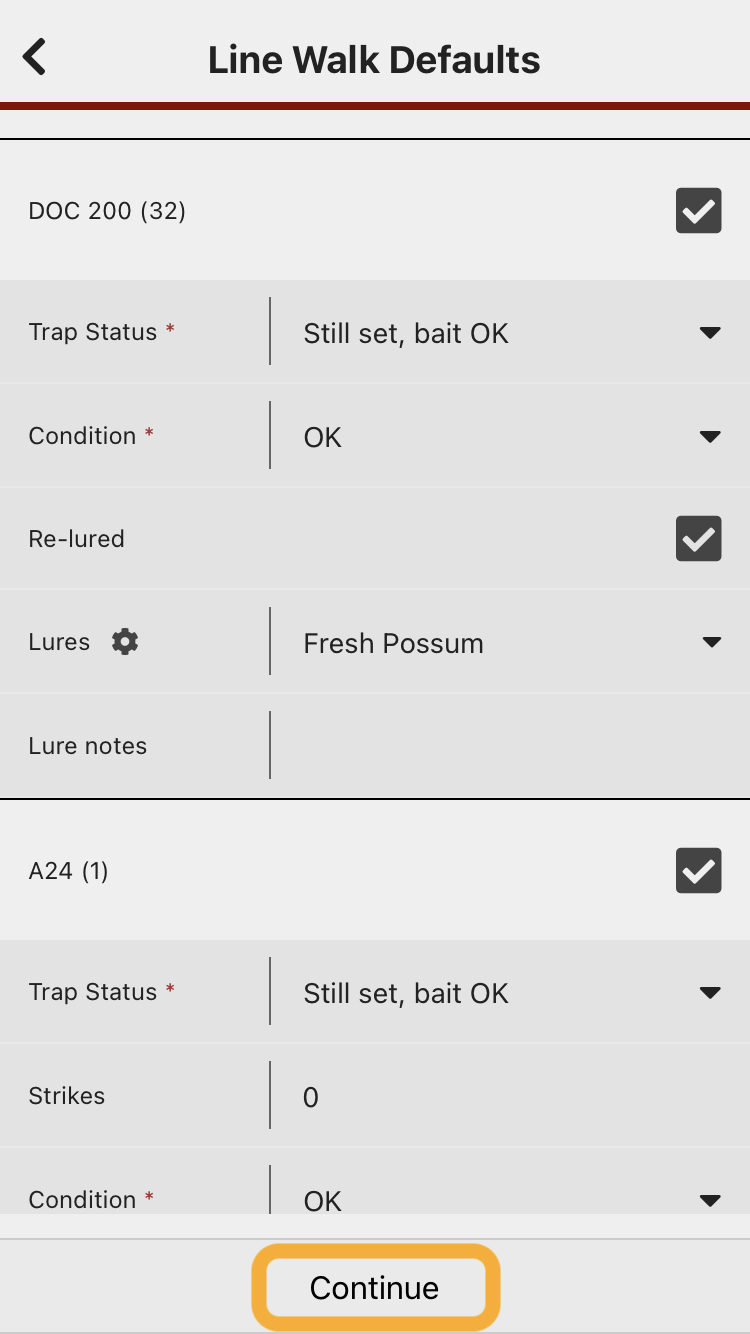
The different types of trap you have on this line will be displayed, so you can set defaults for each trap type.

Enter a default value for each of the trap types on the line, then press "Continue".
After setting the default values, The options will blank out and only open and show when you are within the proximity you have set in lines. You are ready to start walking the line.
As you walk the line, the traps that you pass will be highlighted with a green outline to show that a check has been recorded against them.
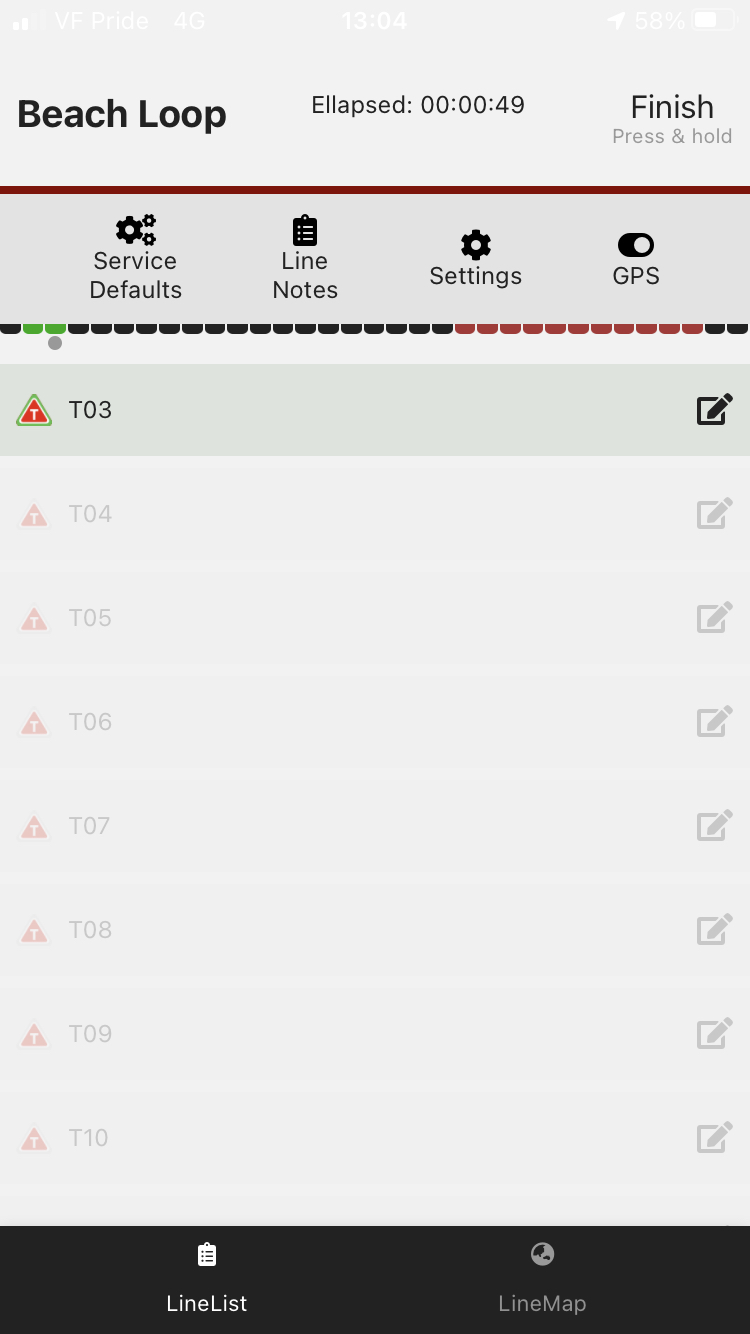
An indicator bar at the top of the screen shows your progress through the line (green checked, black un-checked, red never-checked / new trap).
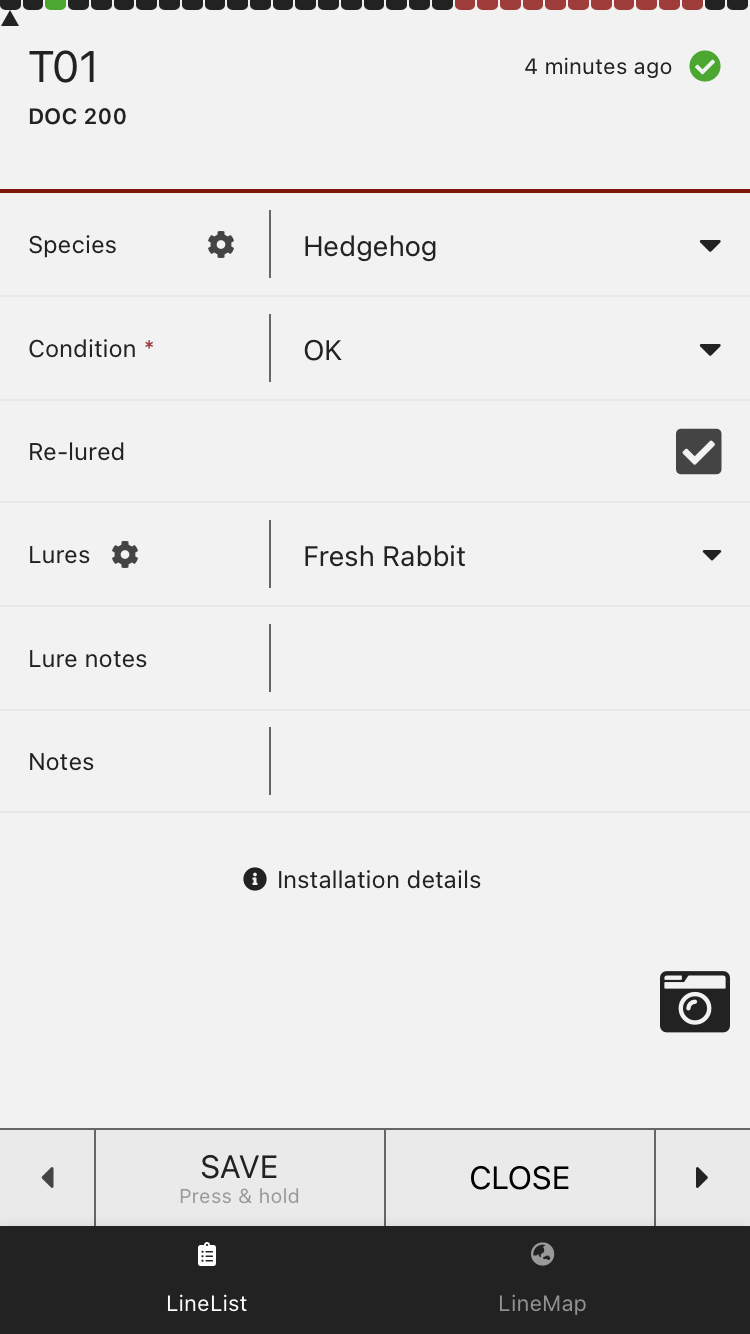
At any point in time, you can manually select a trap and change from the default record. When you click save, the form for the next trap will be displayed, but you can press "Close" and go back to the line list/map view and continue walking.
When you have finished walking the line, press Finish.
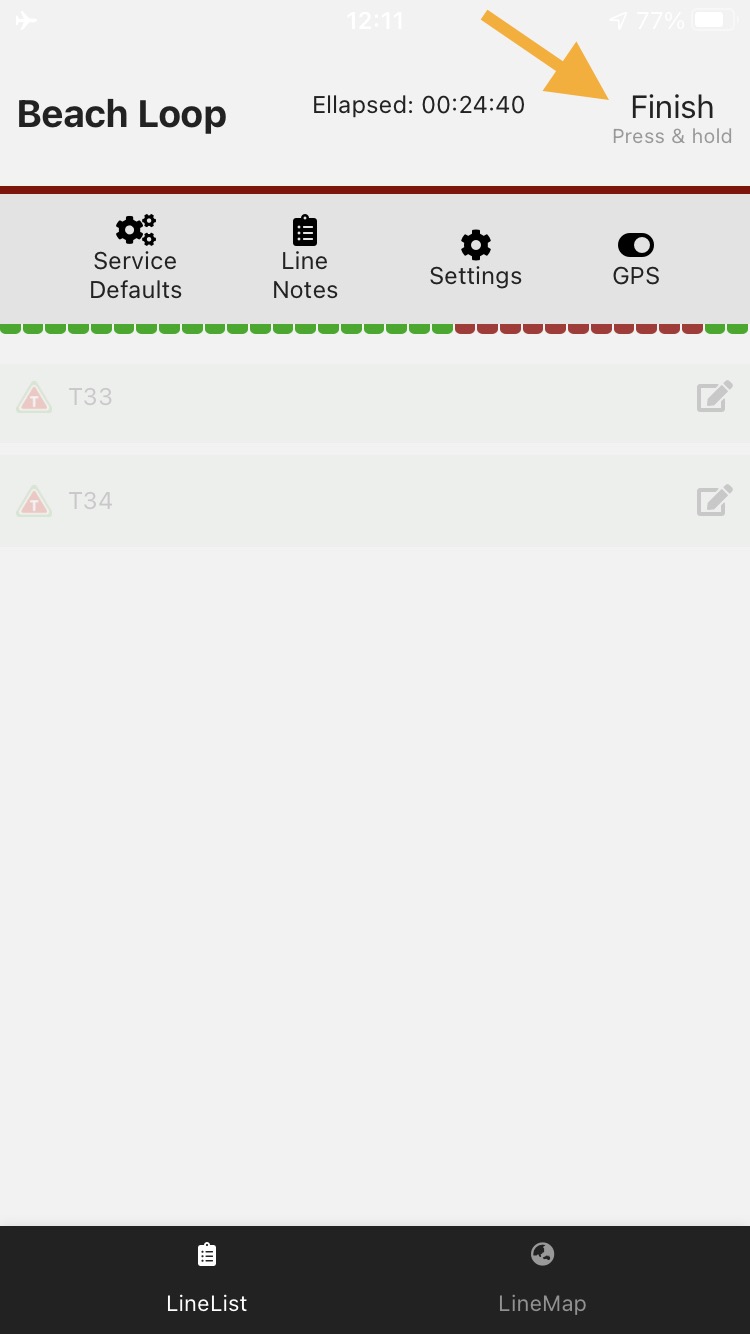
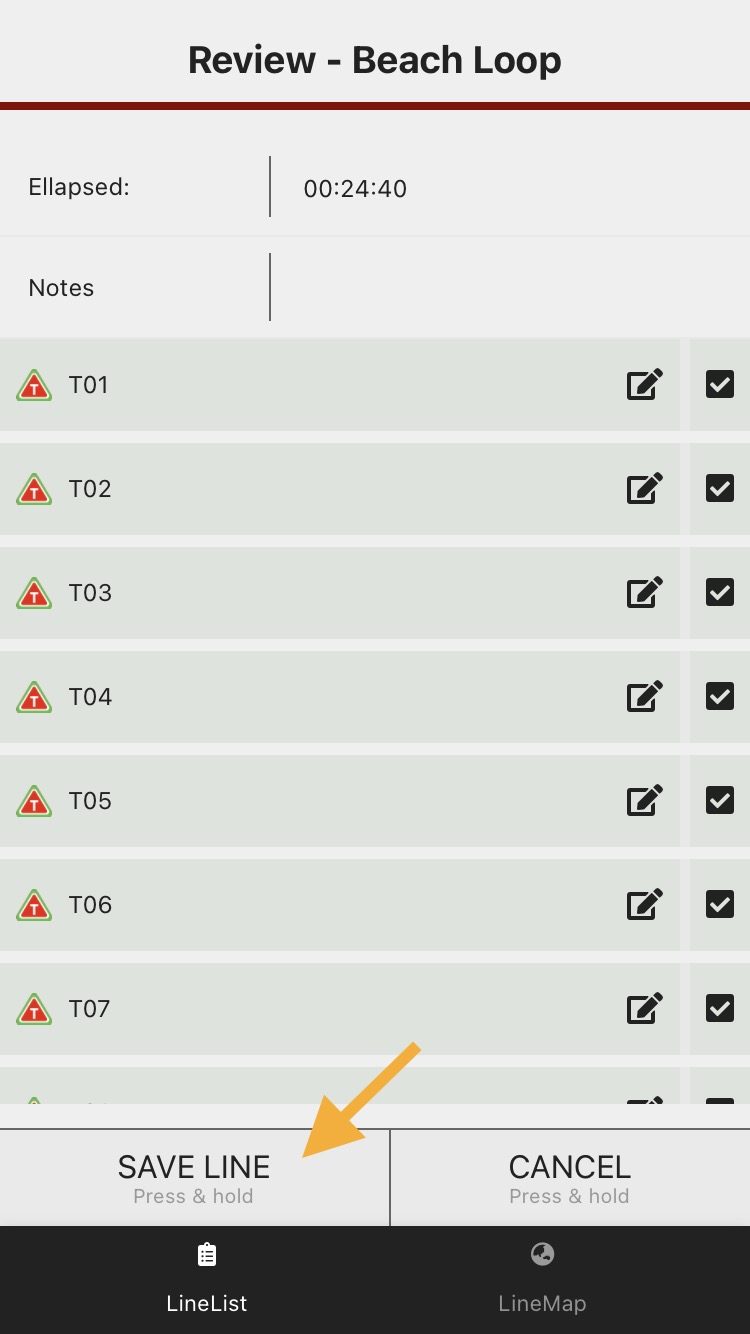
You will then be able to review and edit any records (if any need to be changed from the default), and deselect any records you don't want to save.
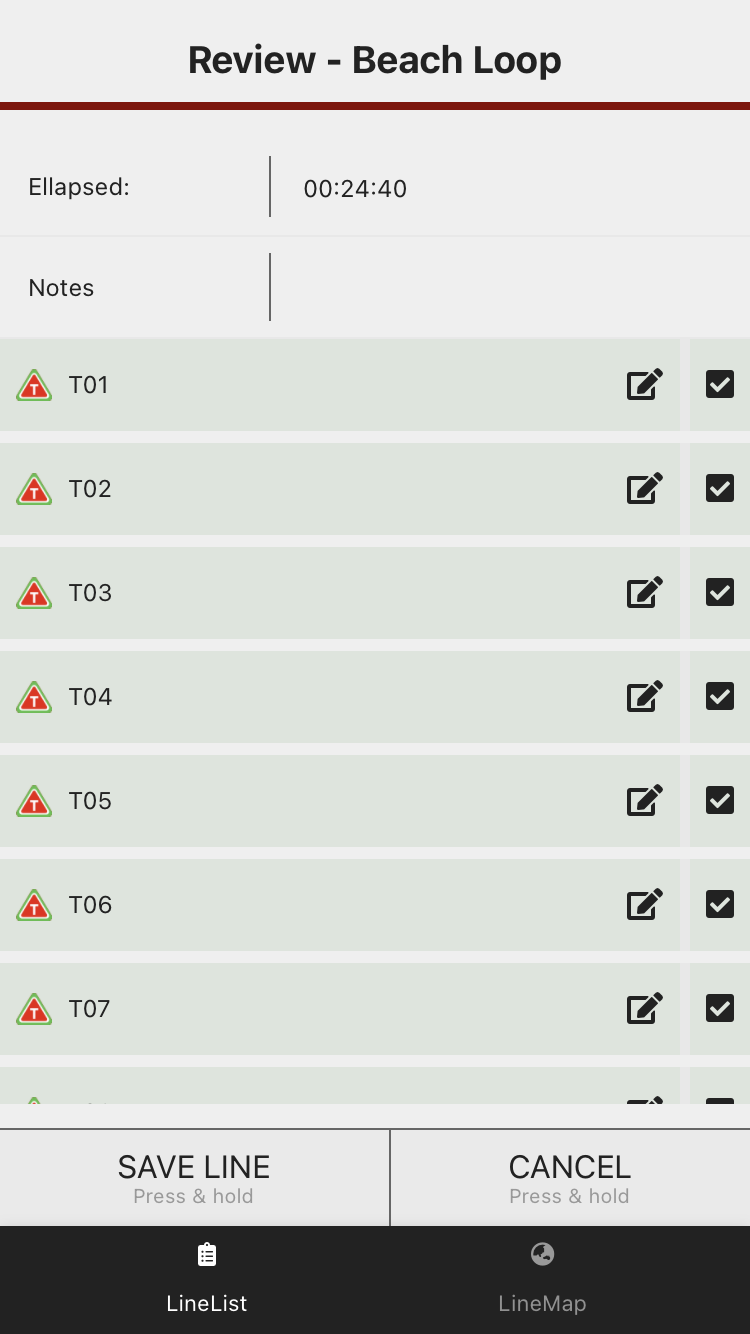
Press and hold the "SAVE LINE" button to submit the records.